Umami with Next.js and Railway
In this article, we will walk through how to deploy Umami to Railway and add it to your Next.js app. Railway is an infrastructure platform and Umami is an open-sourced and self-hosted alternative to Google Analytics.
Table of Contents
Fork Umami
Before we can deploy Umami to Railway, we need to fork the Umami GitHub Repository. By forking Umami, we can easily receive updates in the future.
Deploy to Railway
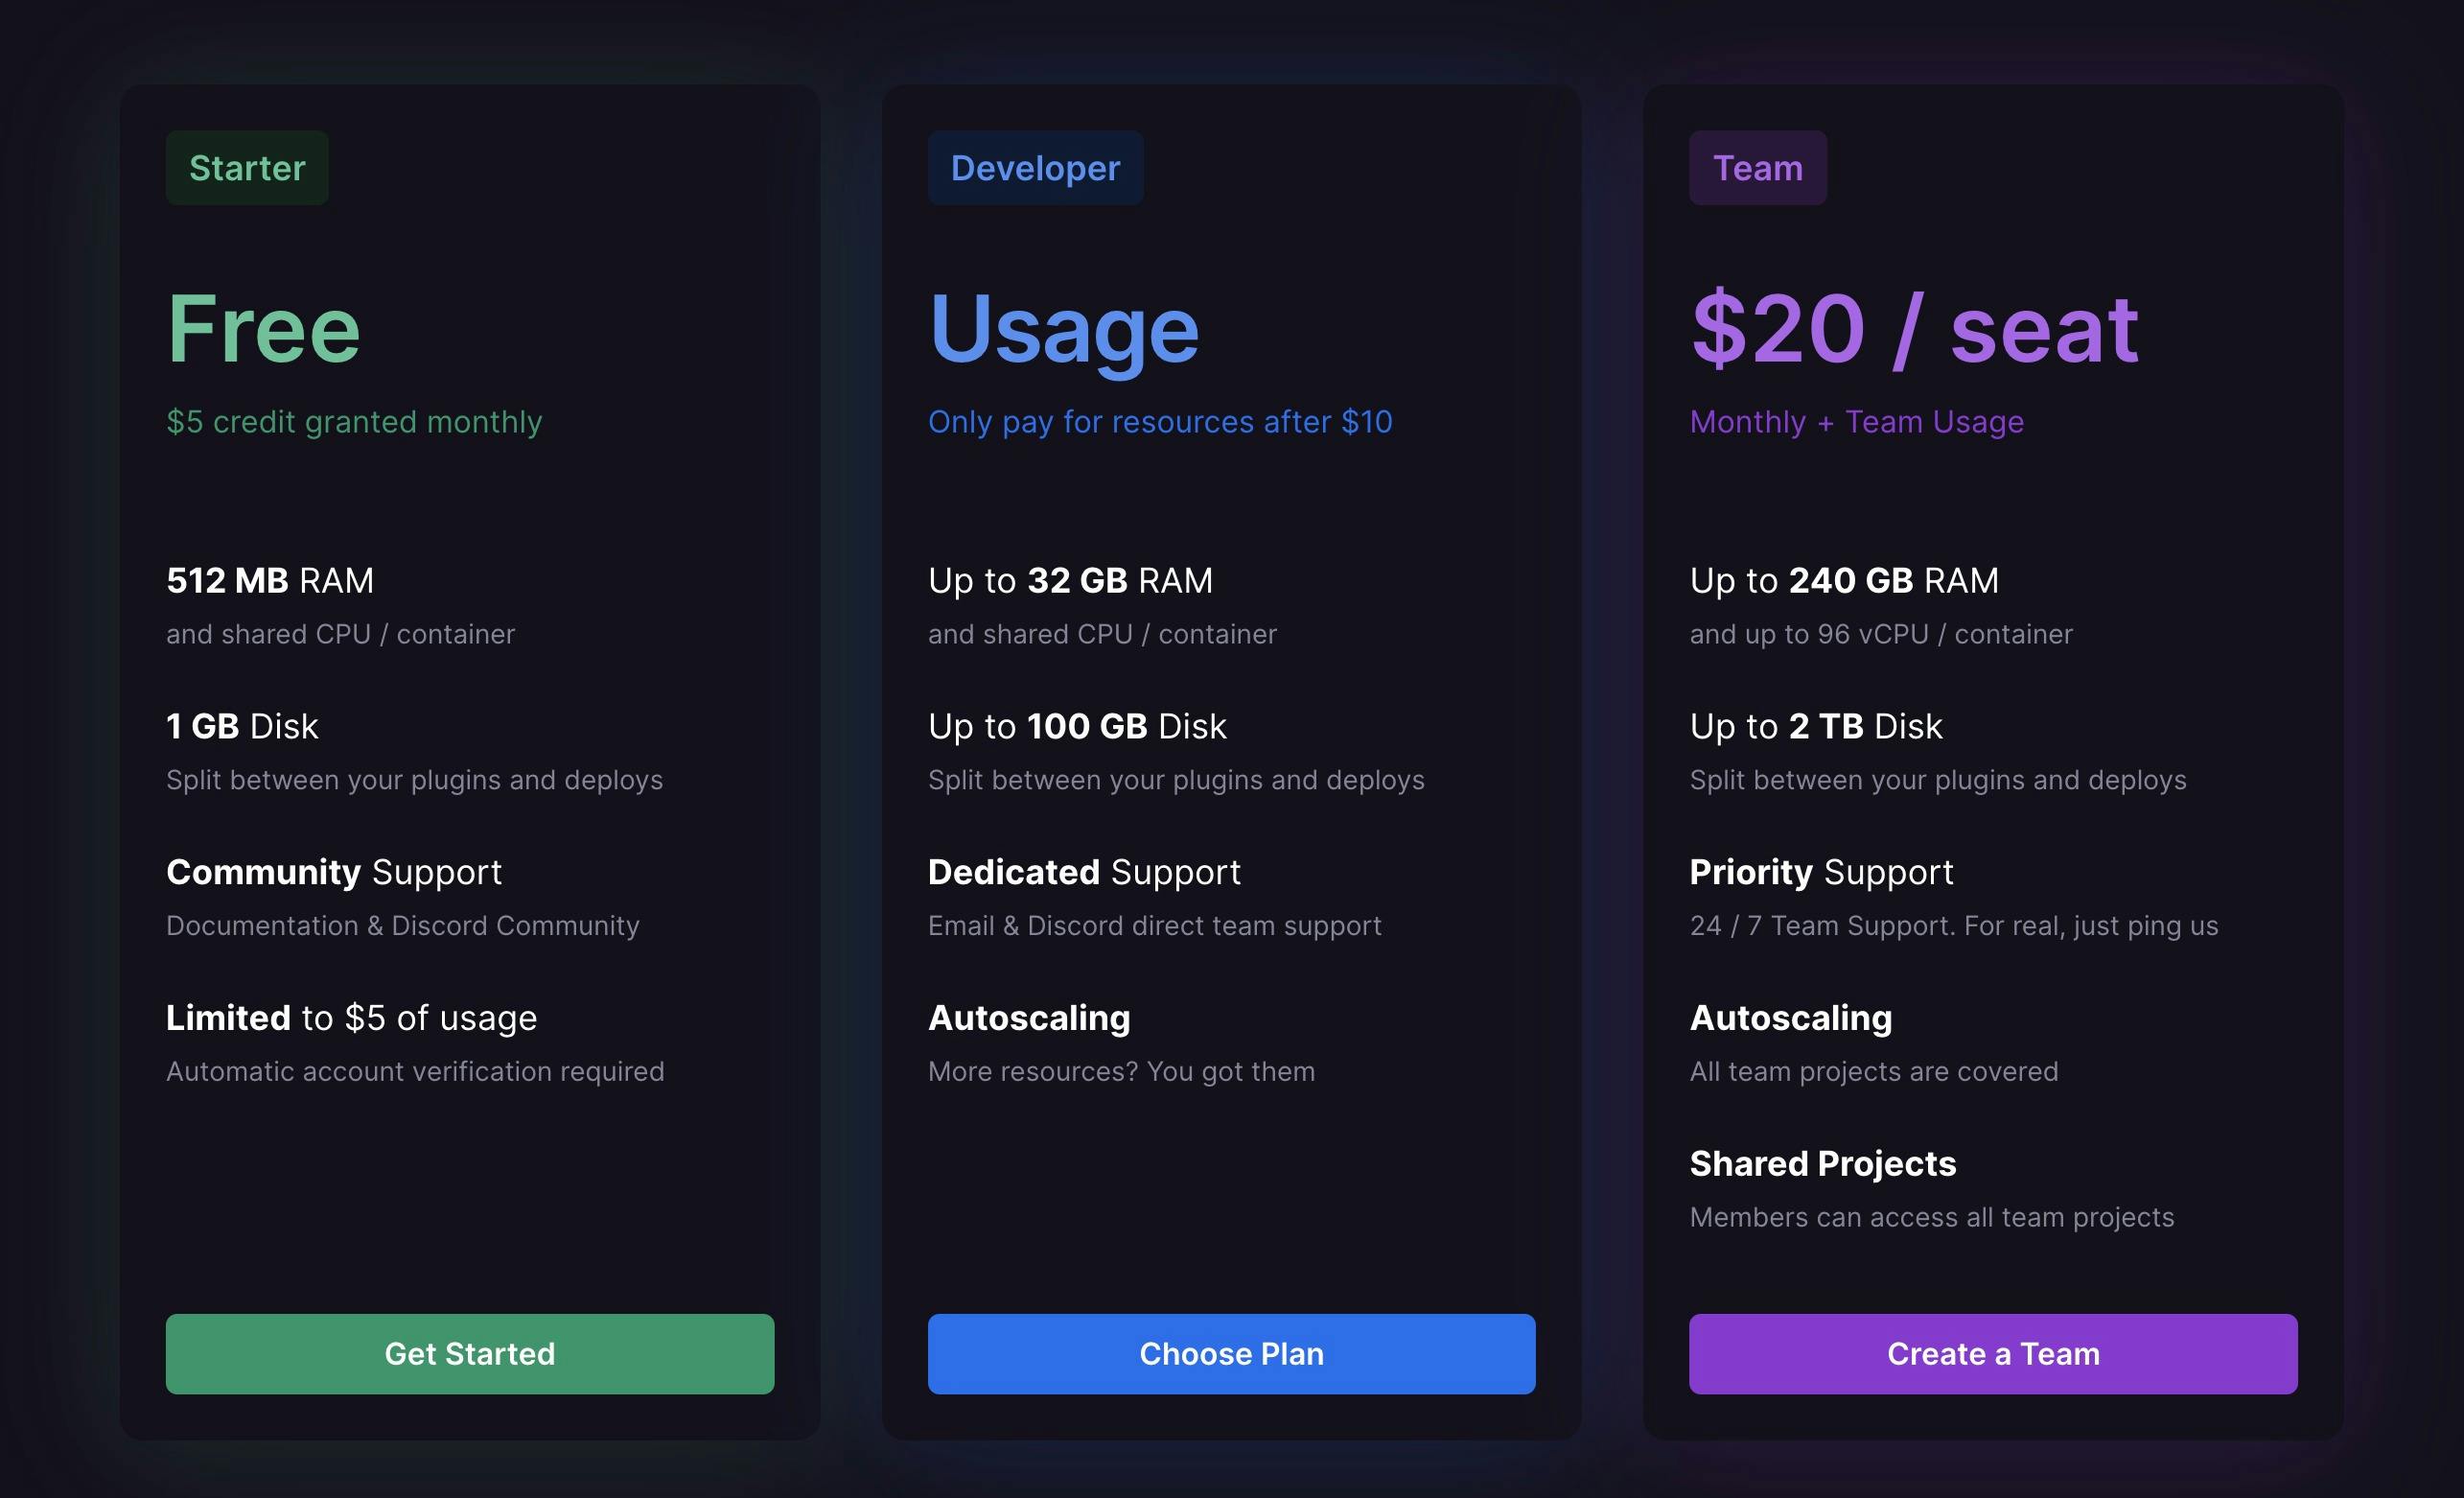
If you do not already have an account with Railway, you can sign up using your GitHub account. Railway has a generous free tier that is more than enough to host Umami.
If you would like to support me, you can sign up using my Railway referral link.
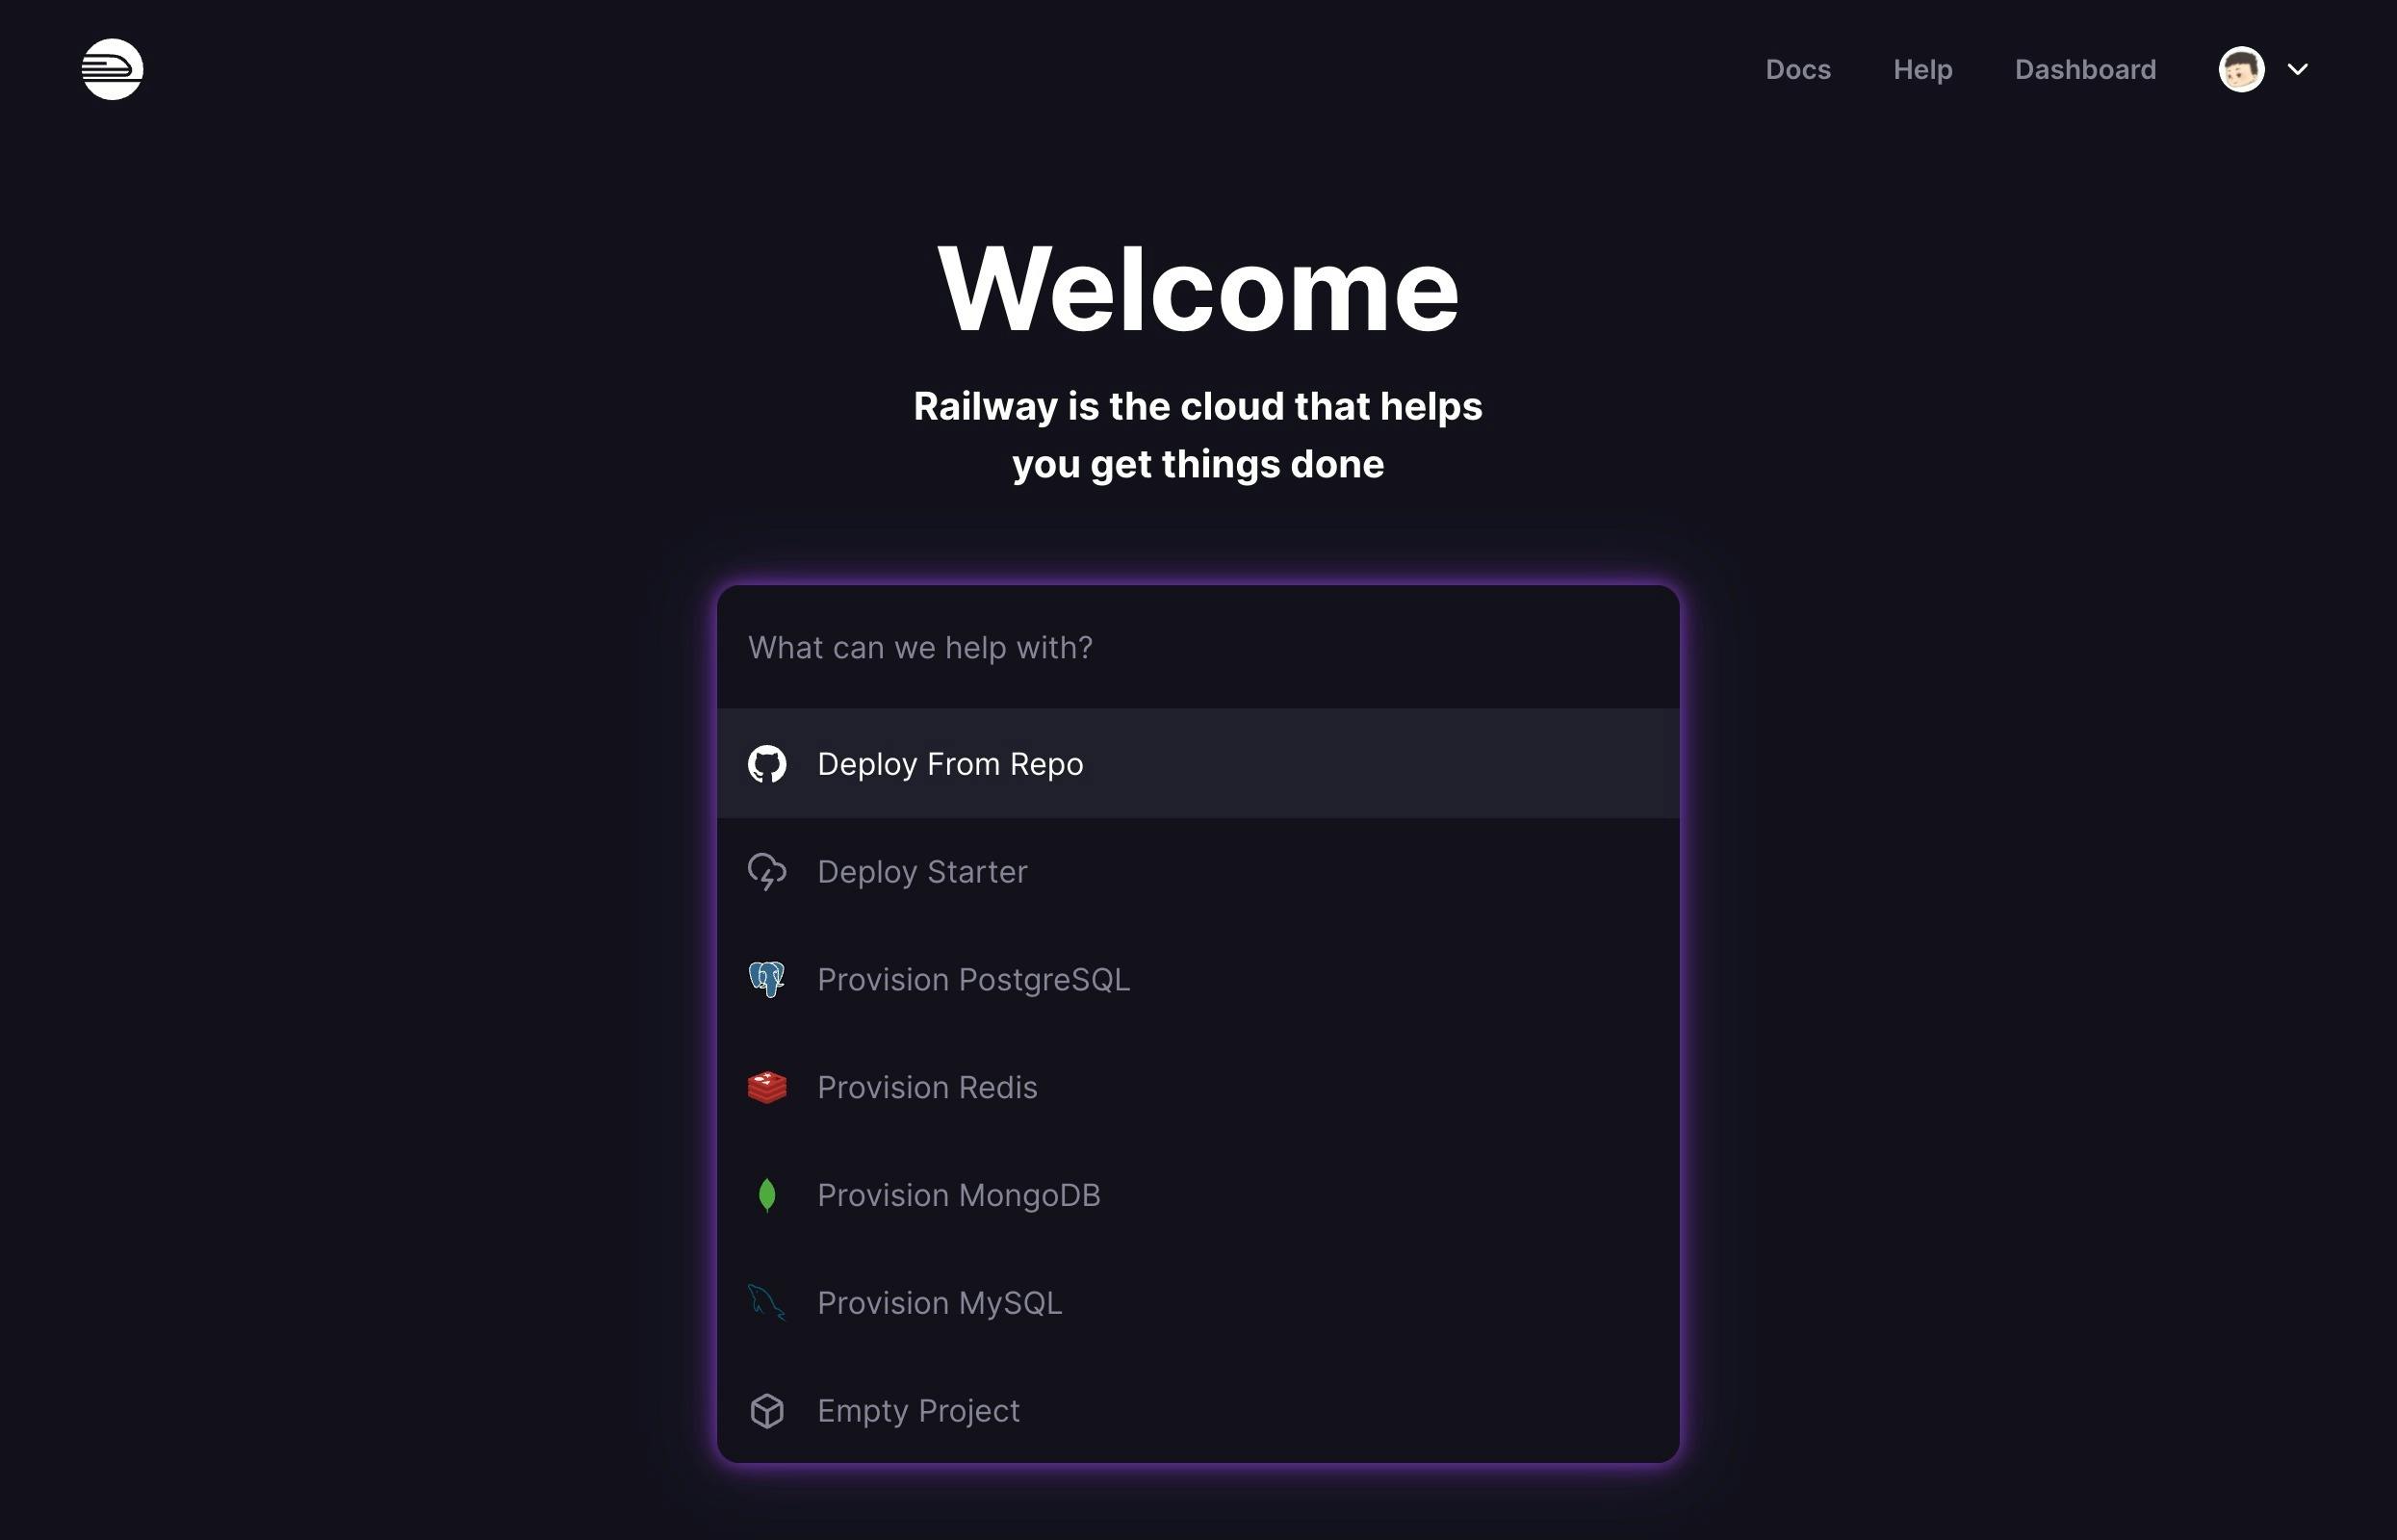
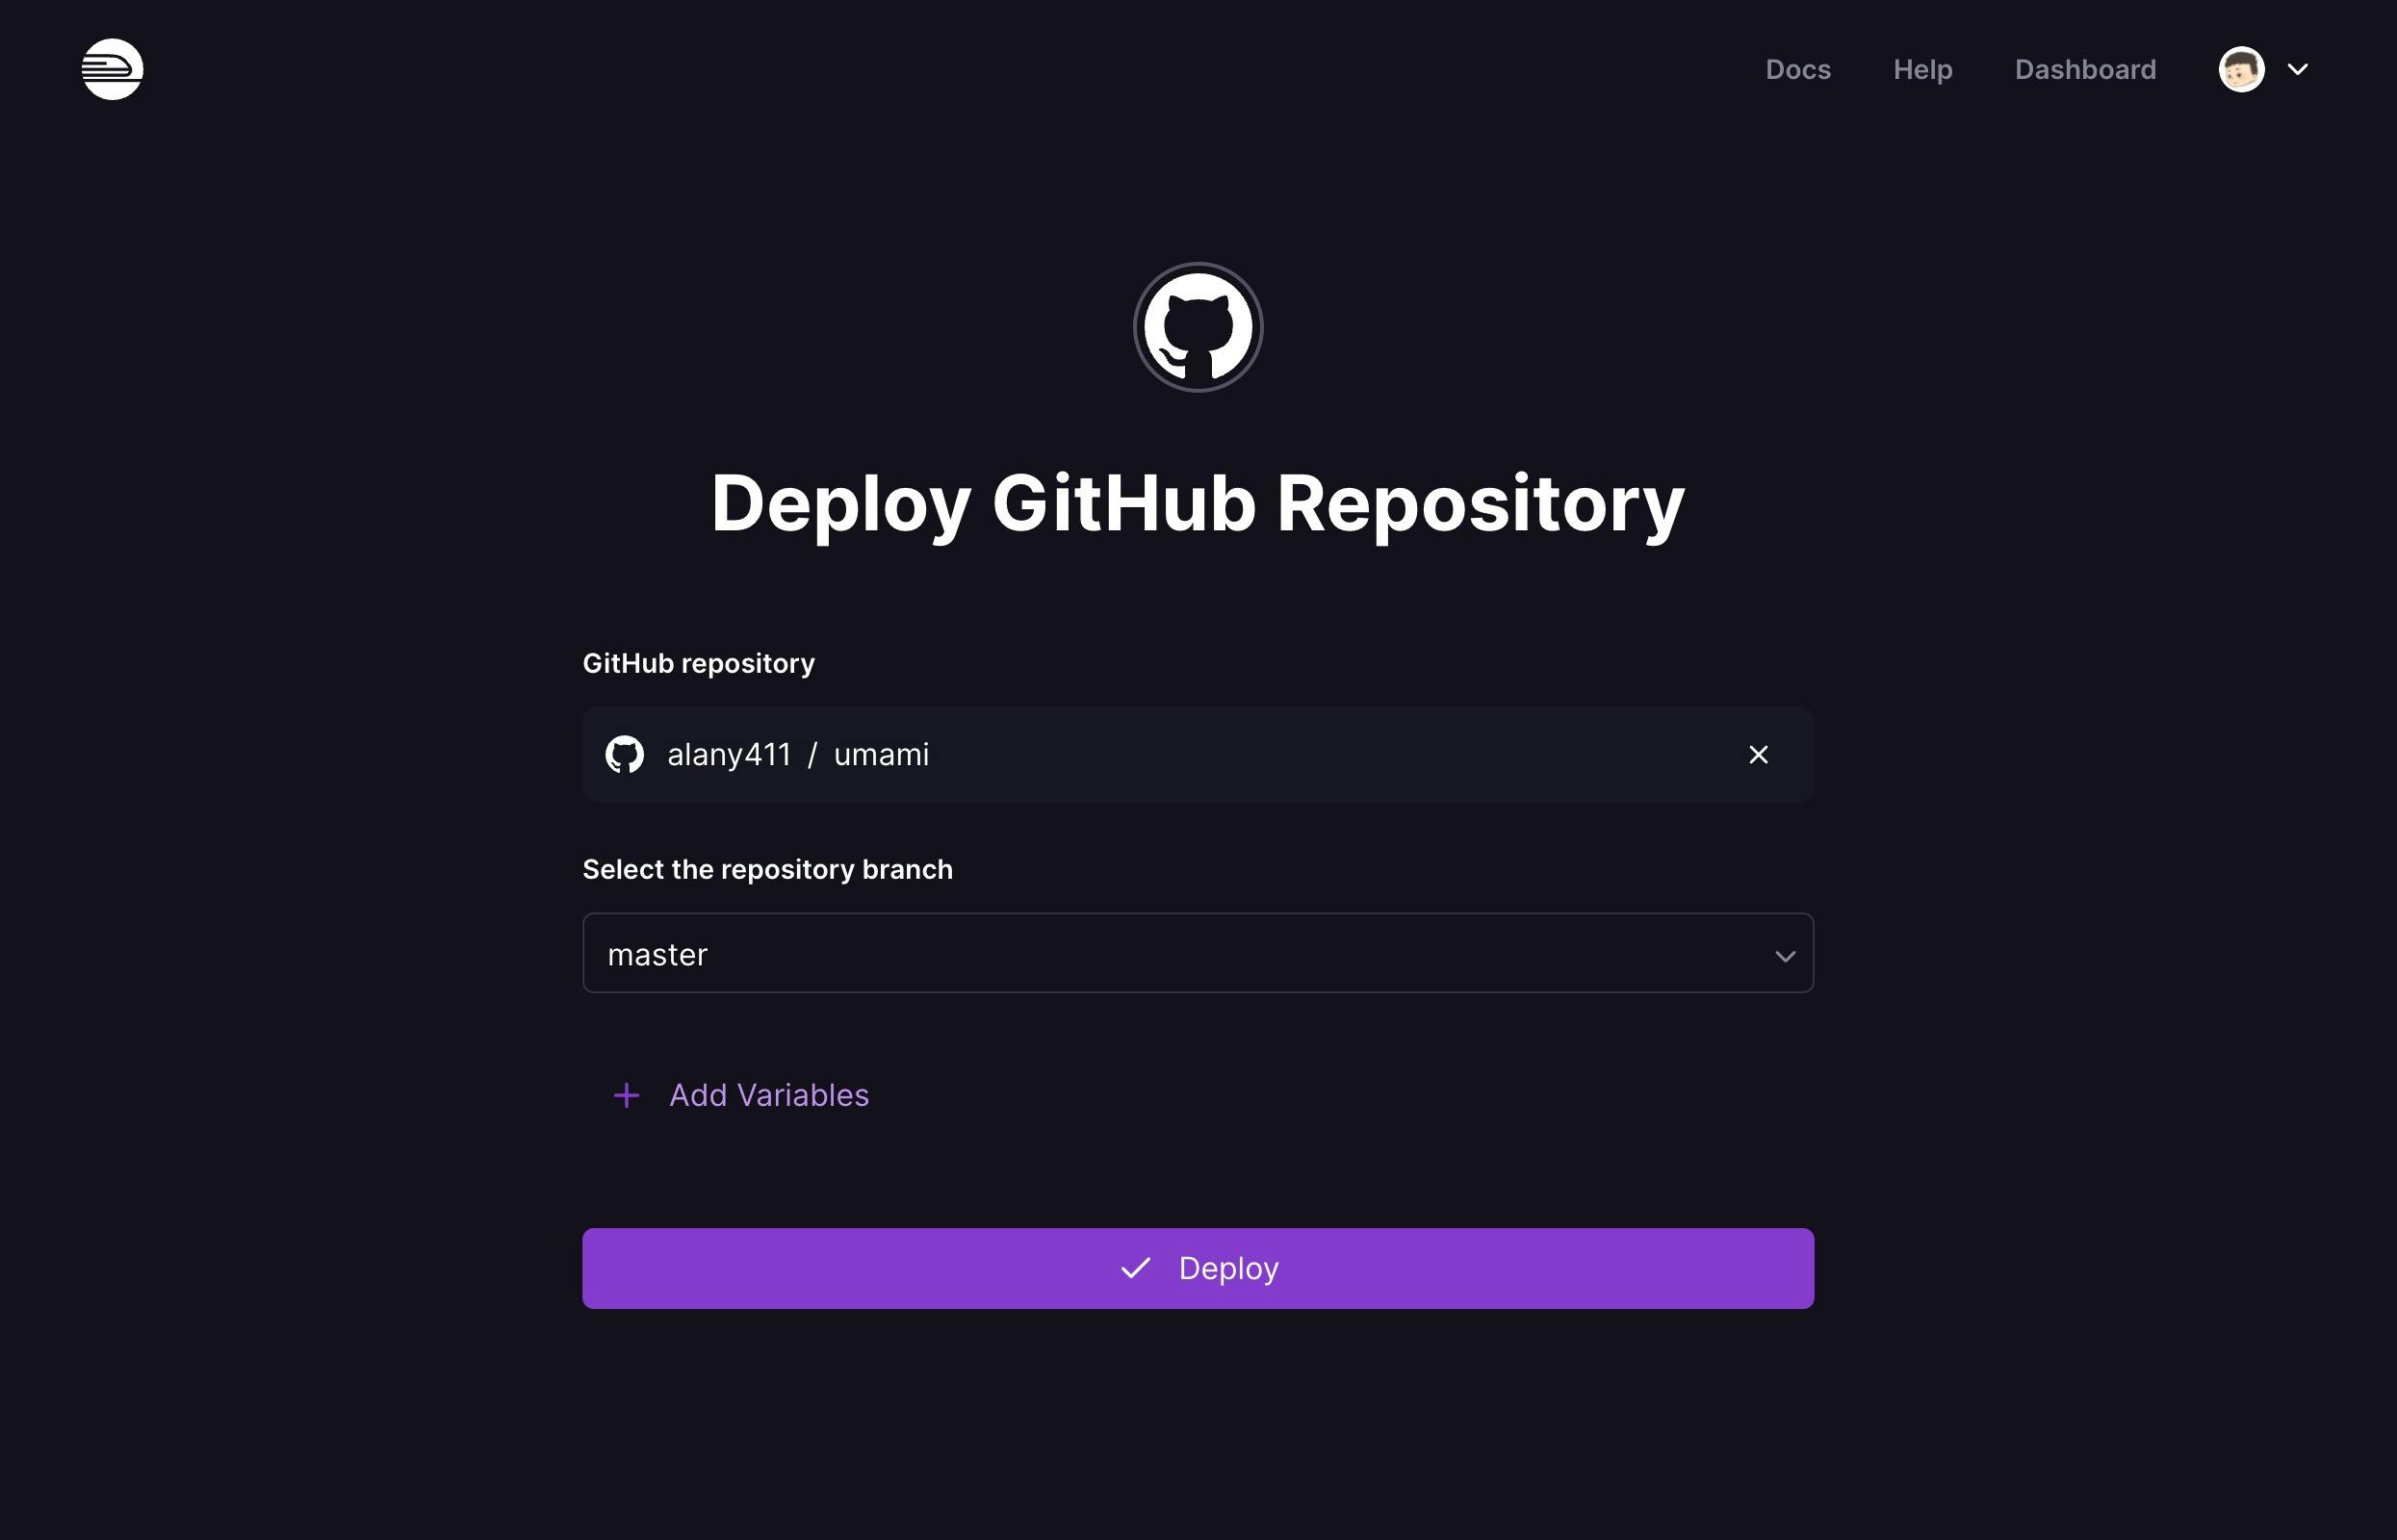
When you are logged into Railway, you will be able to create a new project and deploy using your forked repo of Umami.
Add PostgreSQL
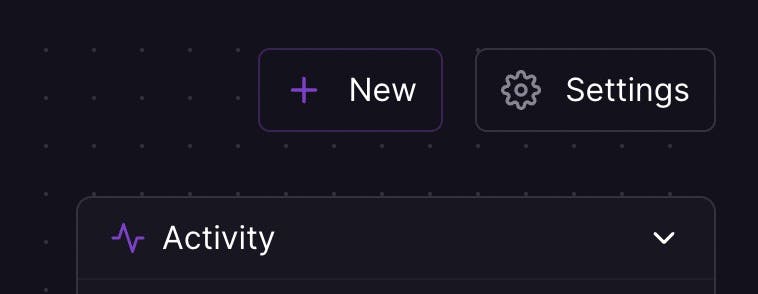
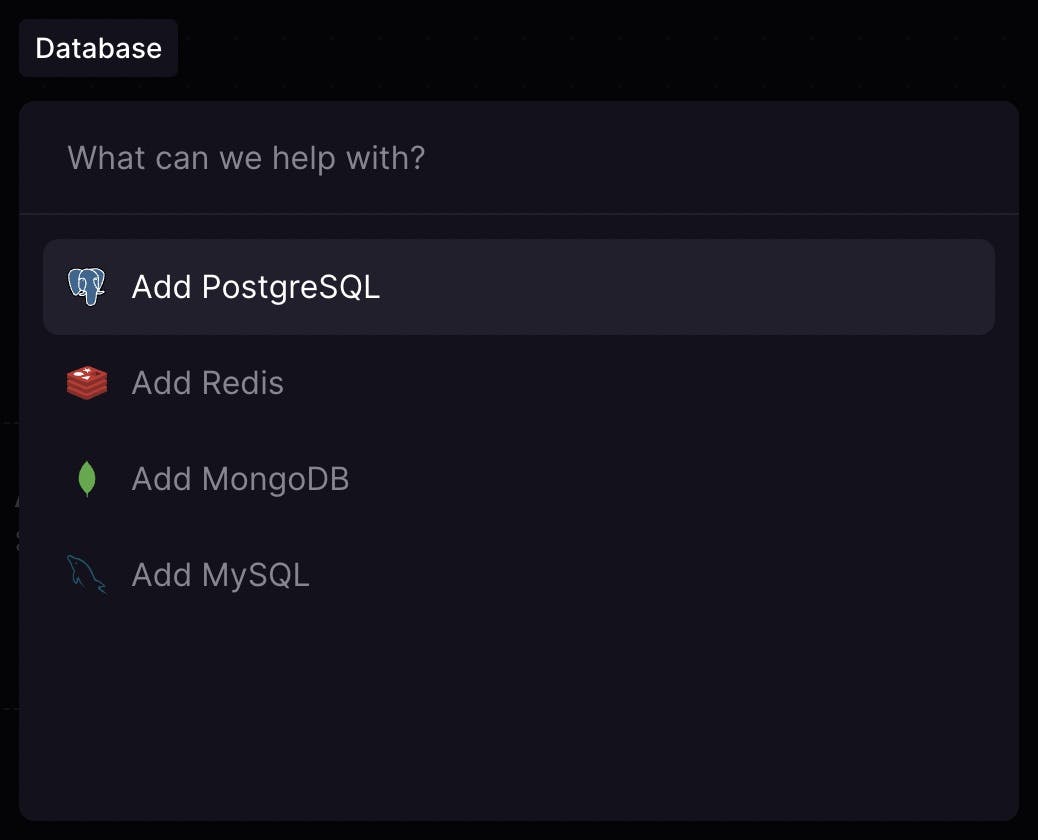
After deploying Umami to Railway, we need to add a PostgreSQL database to the project. Close the panel to our recent deployment and click New and Add PostgreSQL.

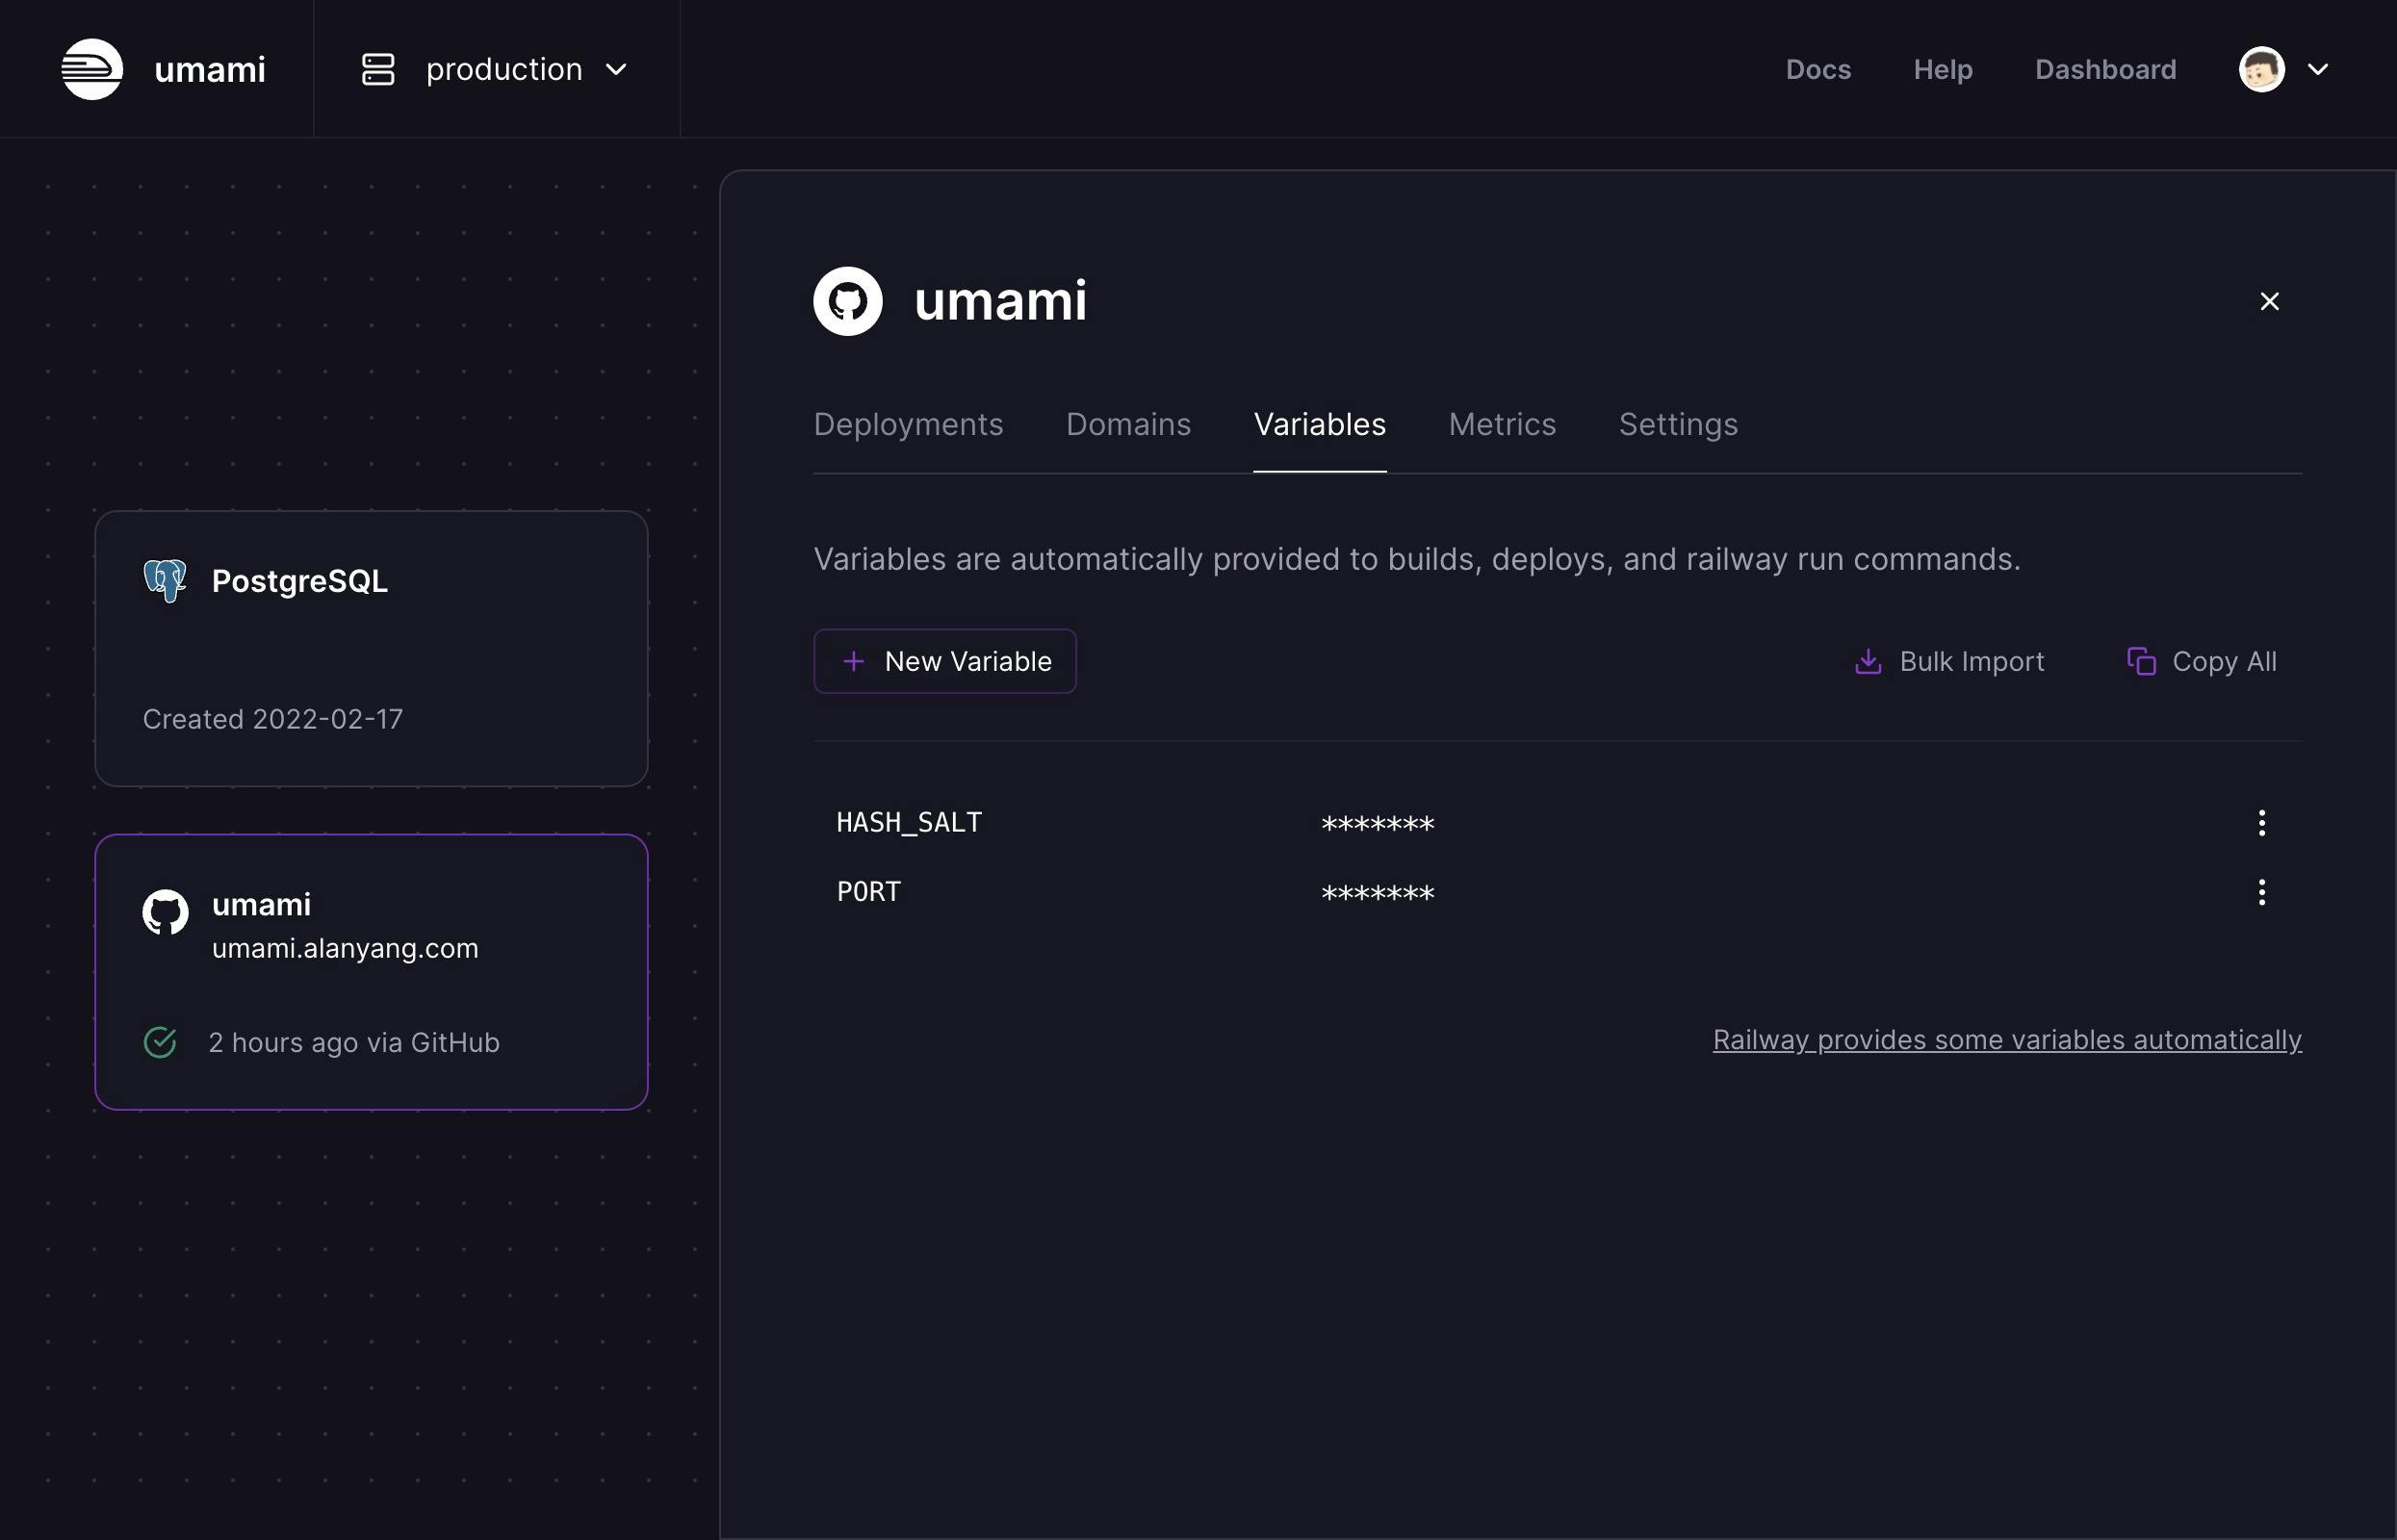
Before we setup our database schema, we need to add a couple of environmental variables to our project in the Variables tab:
HASH_SALT=RANDOM_STRING
PORT=3000
You can generate a random string by going to Random.org
Setup Database Schema
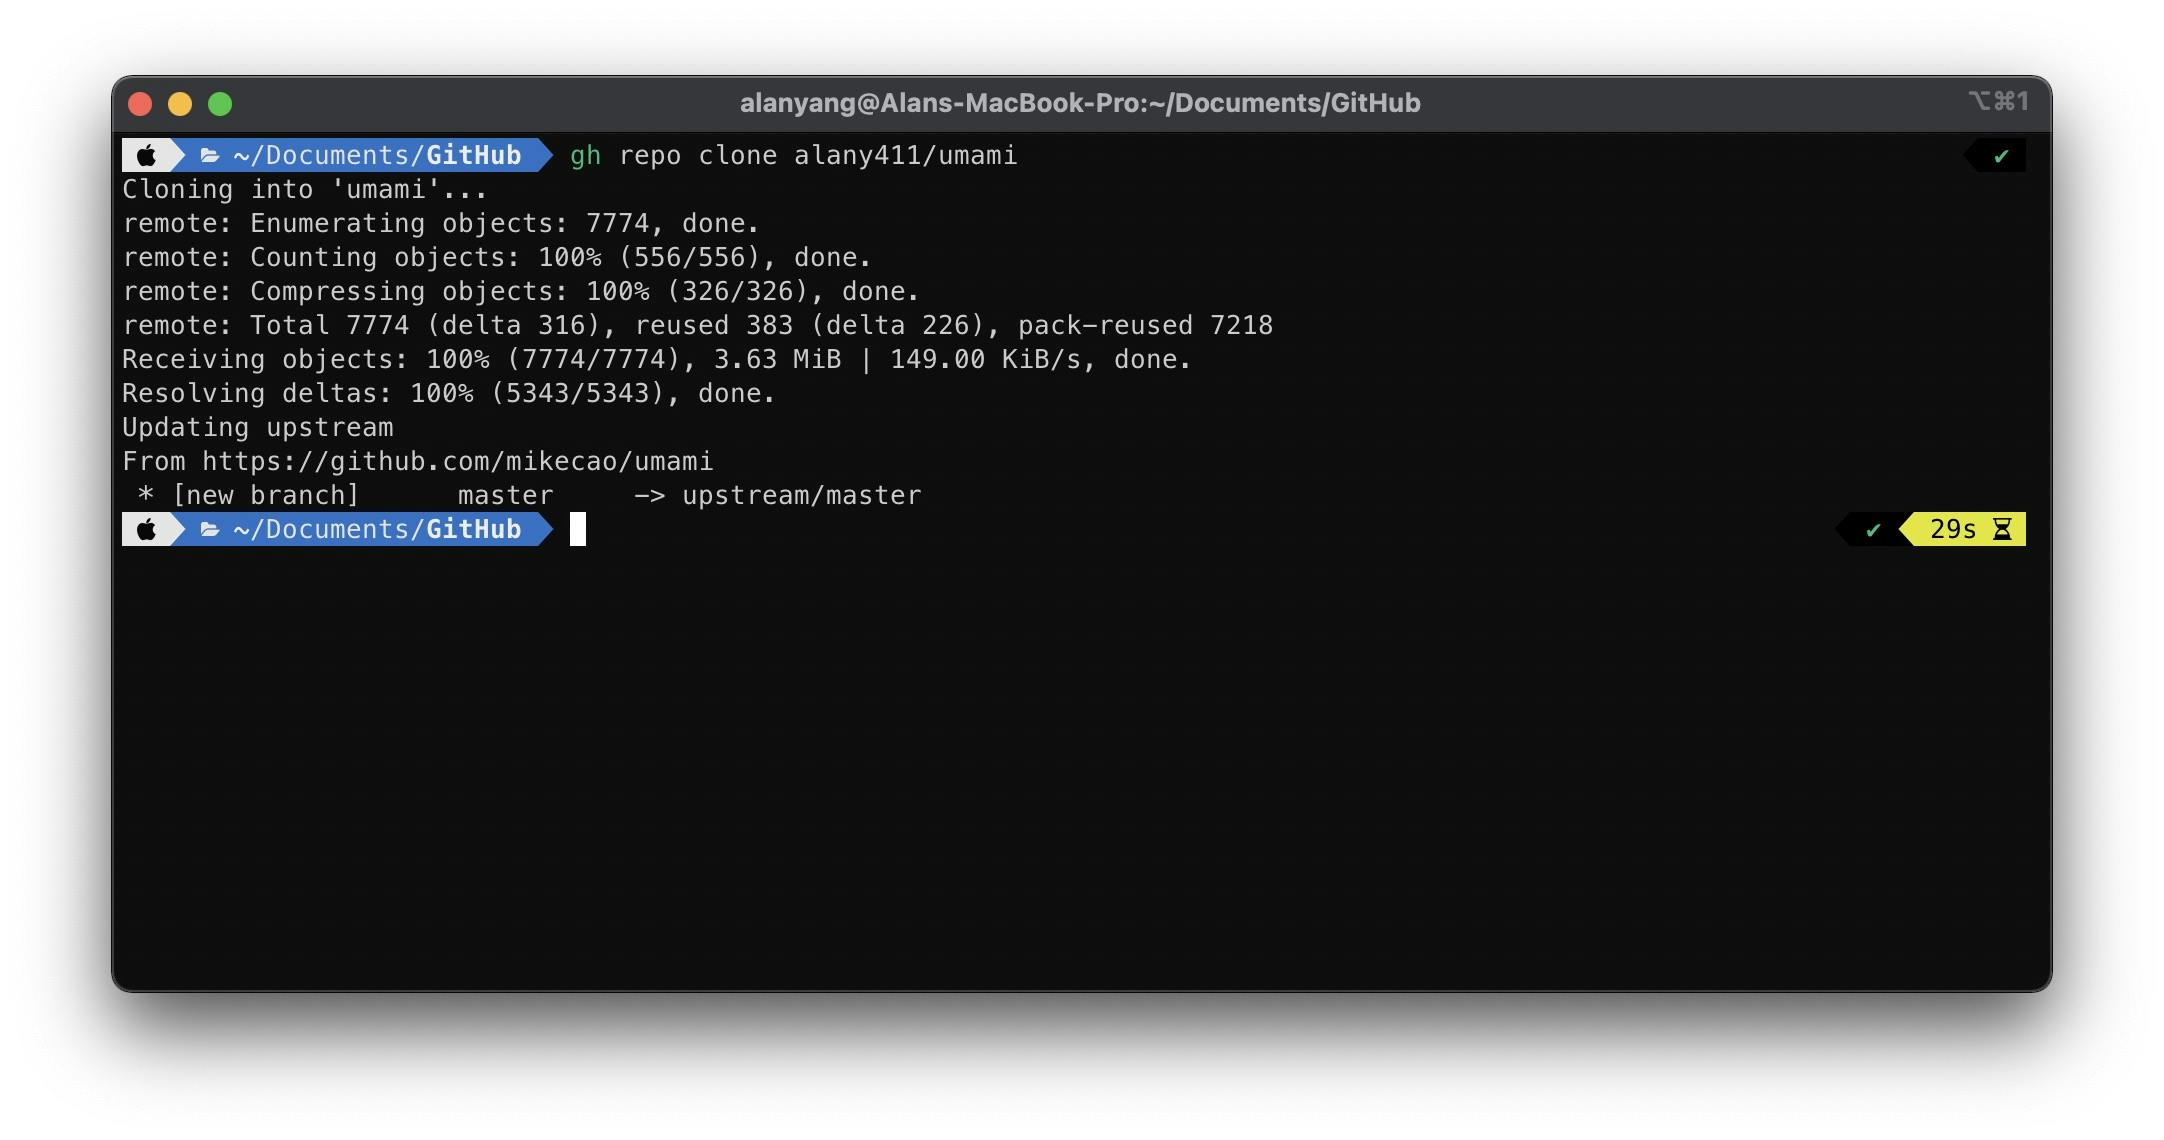
Our database is now added, but we need to setup the schema of the database. To do this, we will first need to clone our forked repository of Umami. I used the GitHub CLI to clone the repository.
gh clone [yourusername]/[yourrepo]
After we clone the repository, we will need to install the Railway CLI to run a few commands. There are a few different ways to install the CLI; I used Homebrew.
brew install railwayapp/railway/railway
After installing the Railway CLI, we can authenticate with the following command:
railway login --browserless
To link our locally cloned repository of Umami, we will need to run the following command from within the cloned repository:
railway link
Before we can create the database schema, we will need to install PostgreSQL or its library functions. I used Homebrew to install the library functions.
brew install libpq
With macOS, I had to add the PATH in my .zshrc config.
echo 'export PATH="/opt/homebrew/opt/libpq/bin:$PATH"' >> ~/.zshrc
We will now need to get the variables from our PostgreSQL database on Railway under the Variables tab.
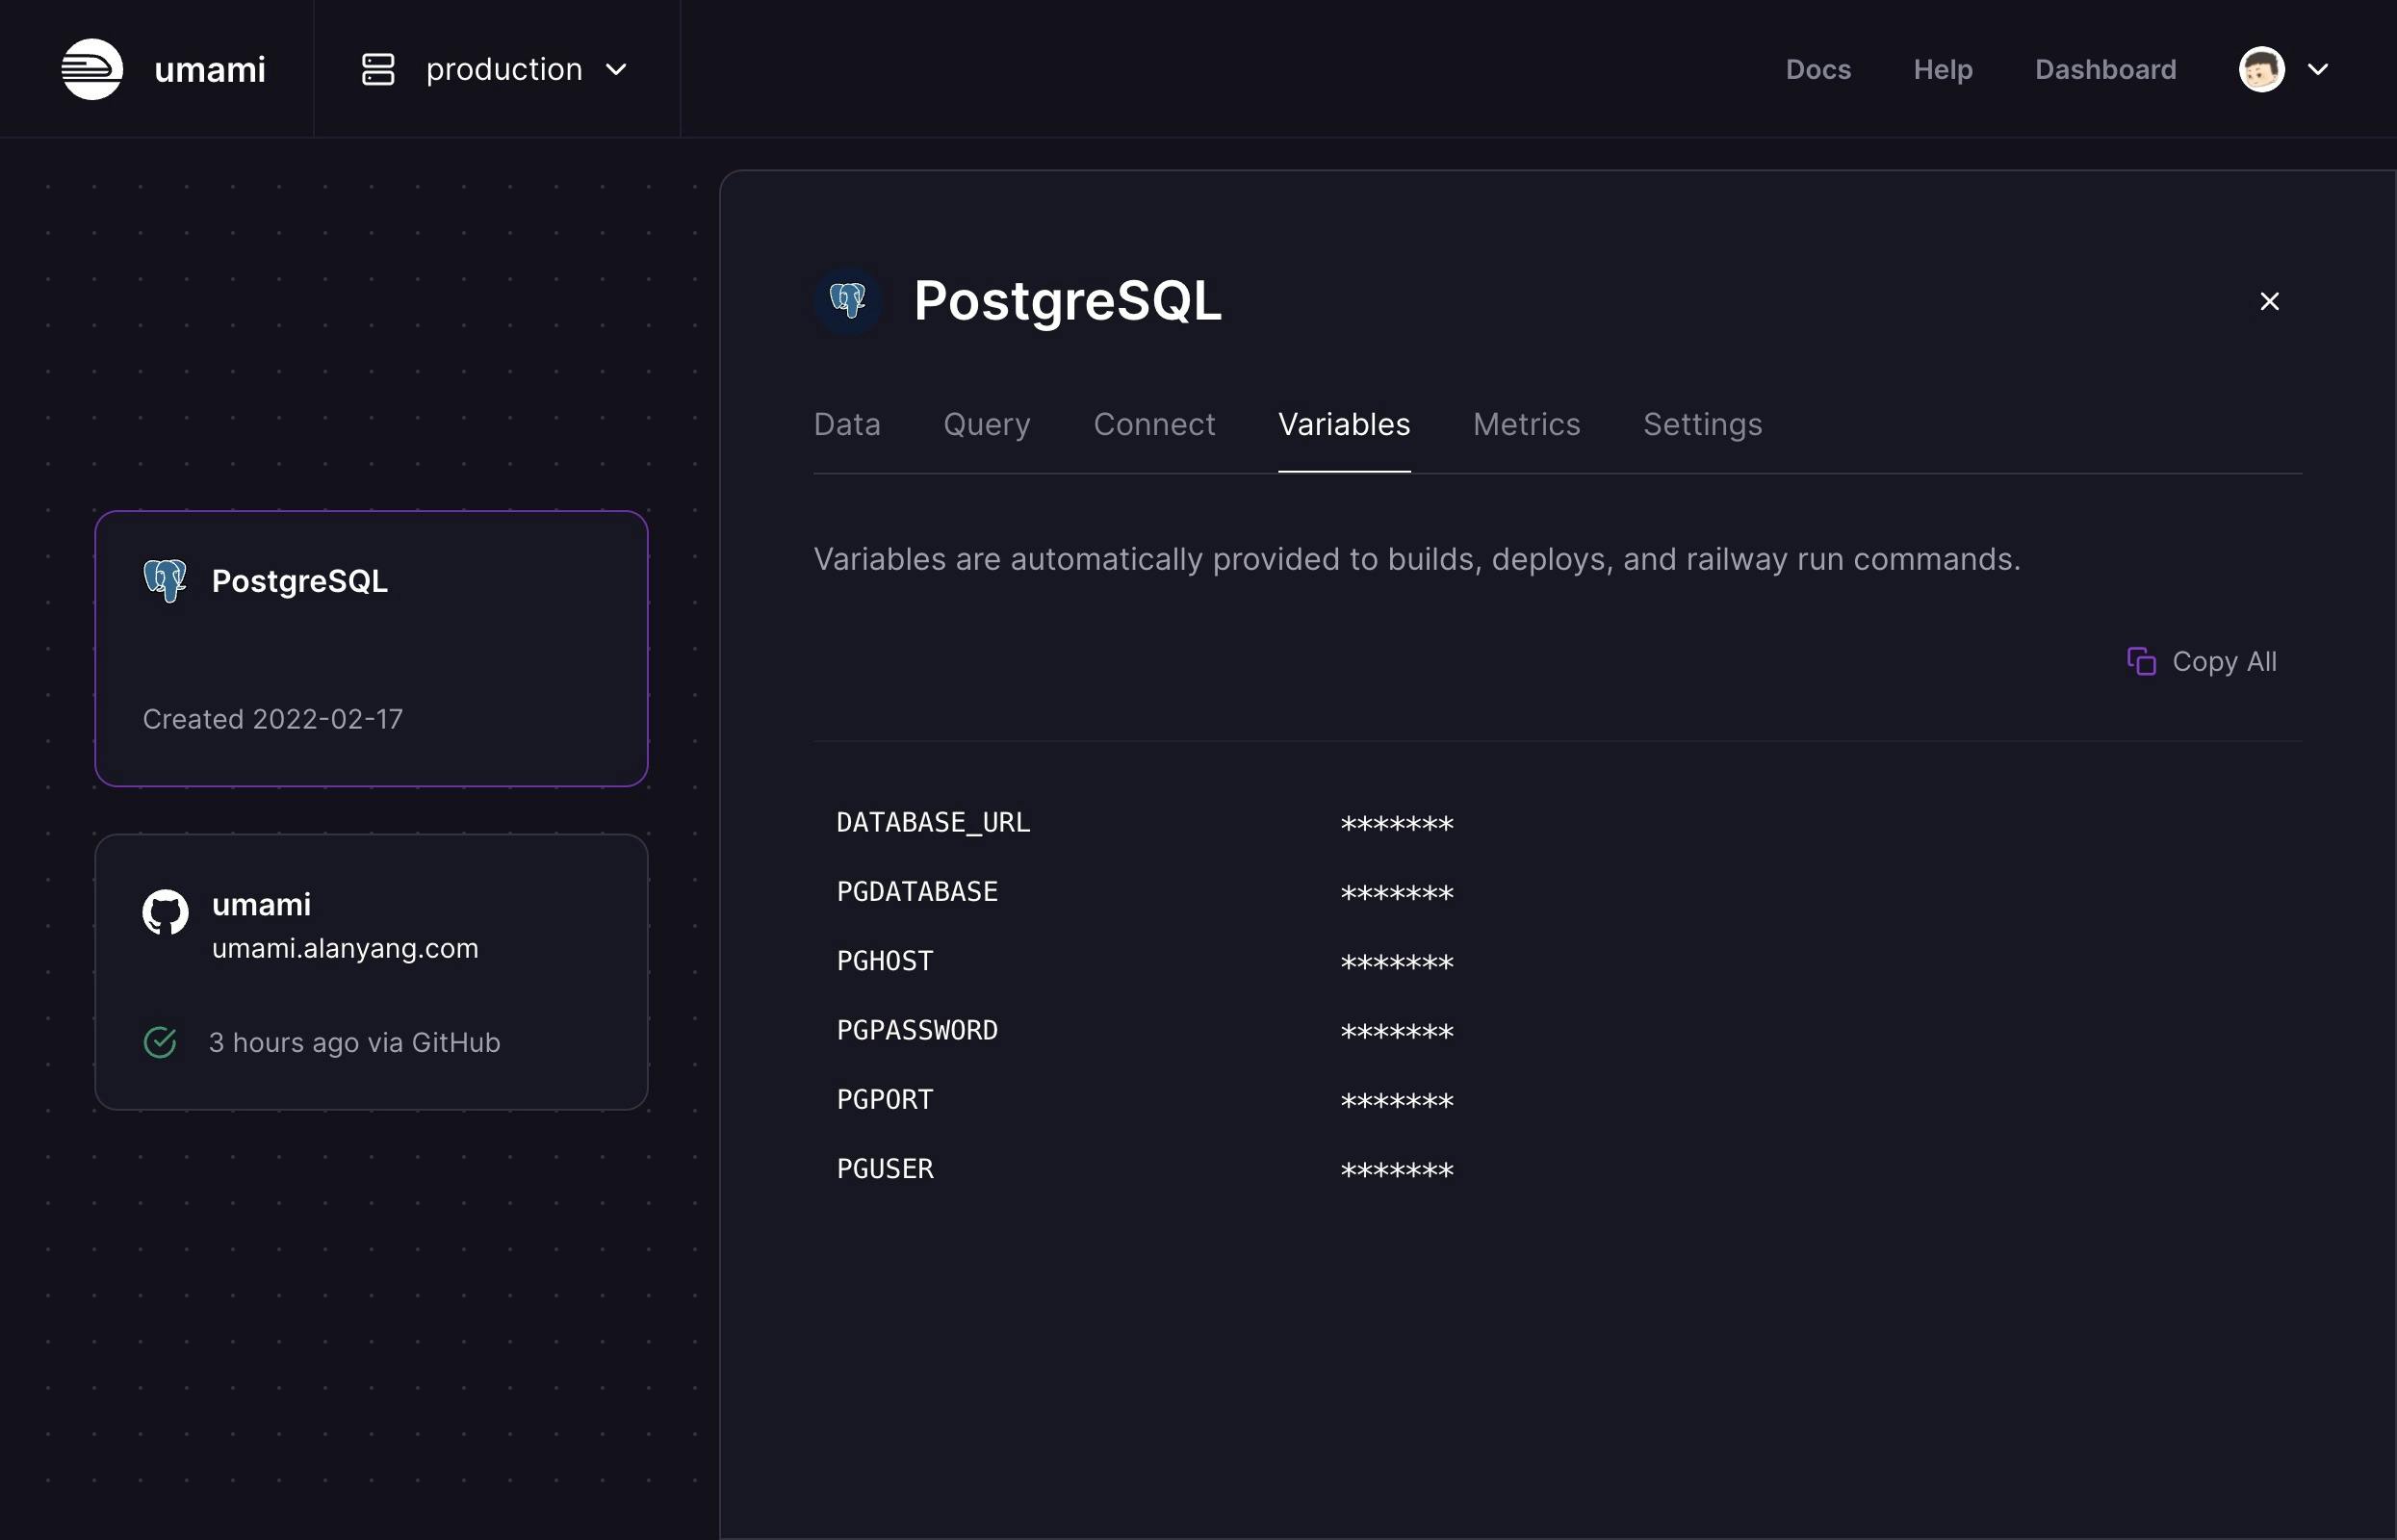
Replace the values for PGHOST, PGUSER, and PGDATABASE in the following command with your PostgreSQL variables and run the command from within the cloned repository of Umami:
railway run psql -h PGHOST -U PGUSER -d PGDATABASE -f sql/schema.postgresql.sql
After the schema is created, we will need to redeploy Umami with the following command:
railway up
Configure Umami
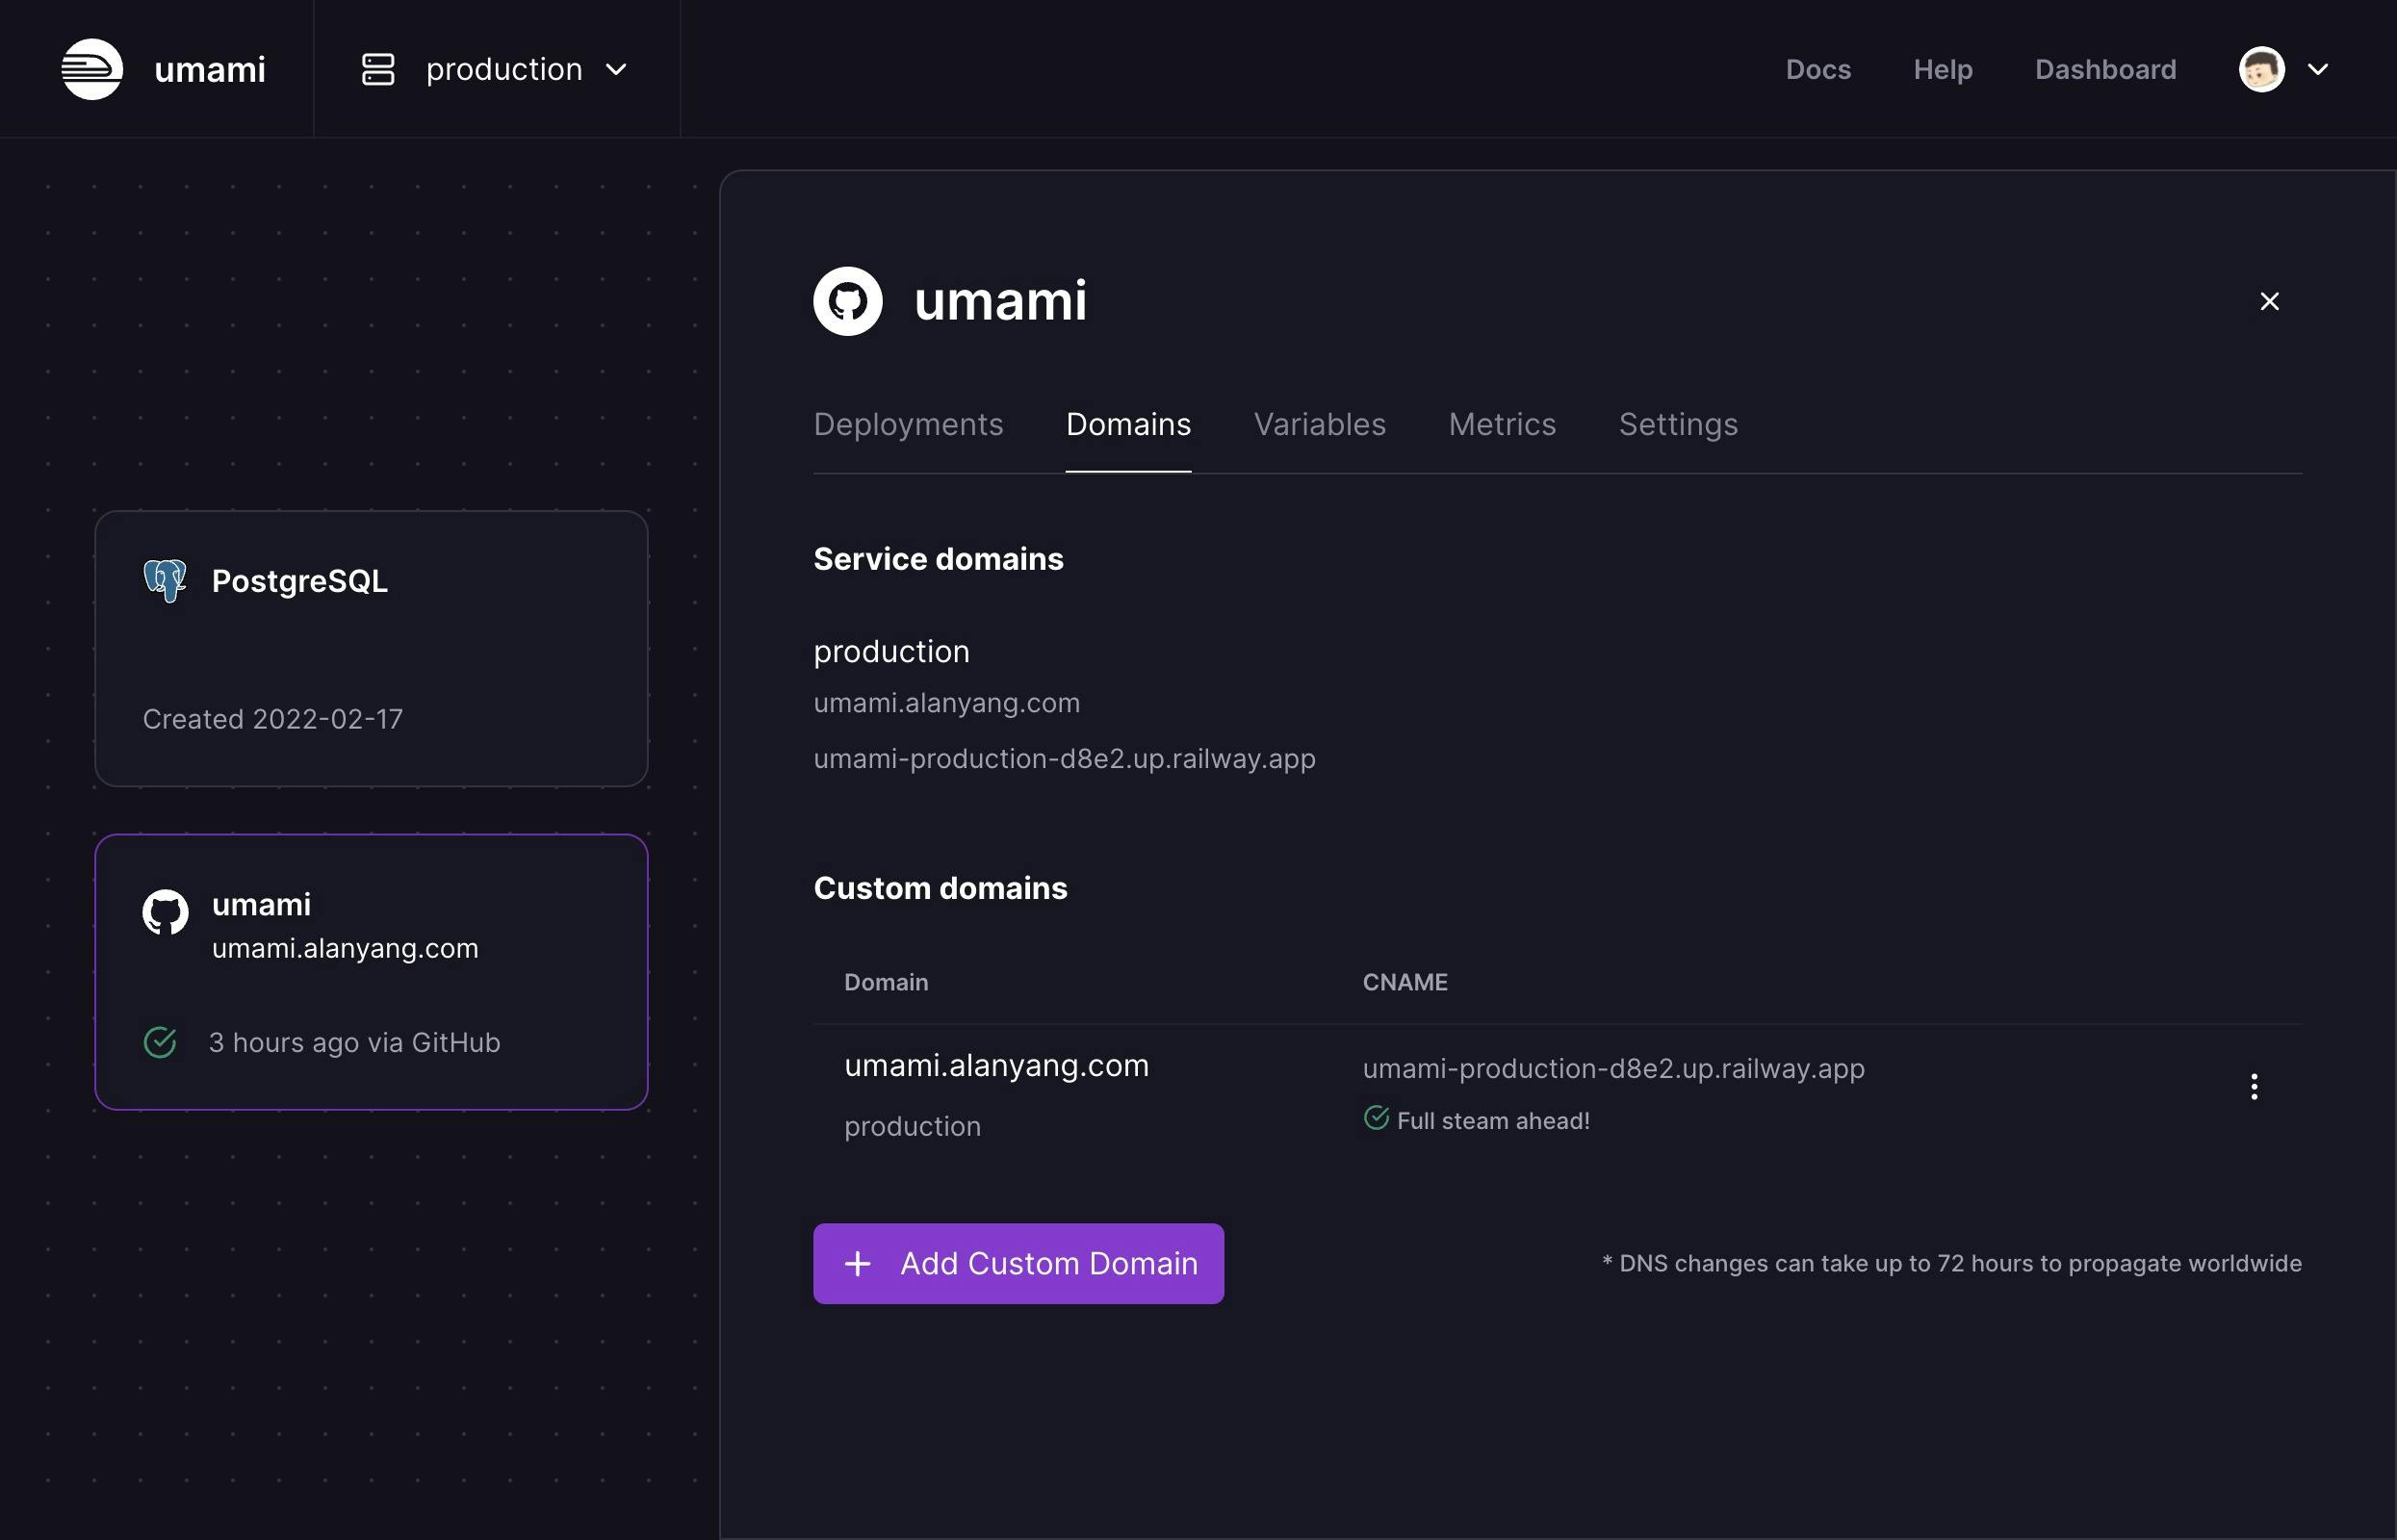
After the redeployment, Umami should be up and running! The Railway CLI should have returned a URL to our live project, but you can also retrieve the URL on Railway under the Domains tab. In this tab, you will also be able to setup a custom domain for Umami.
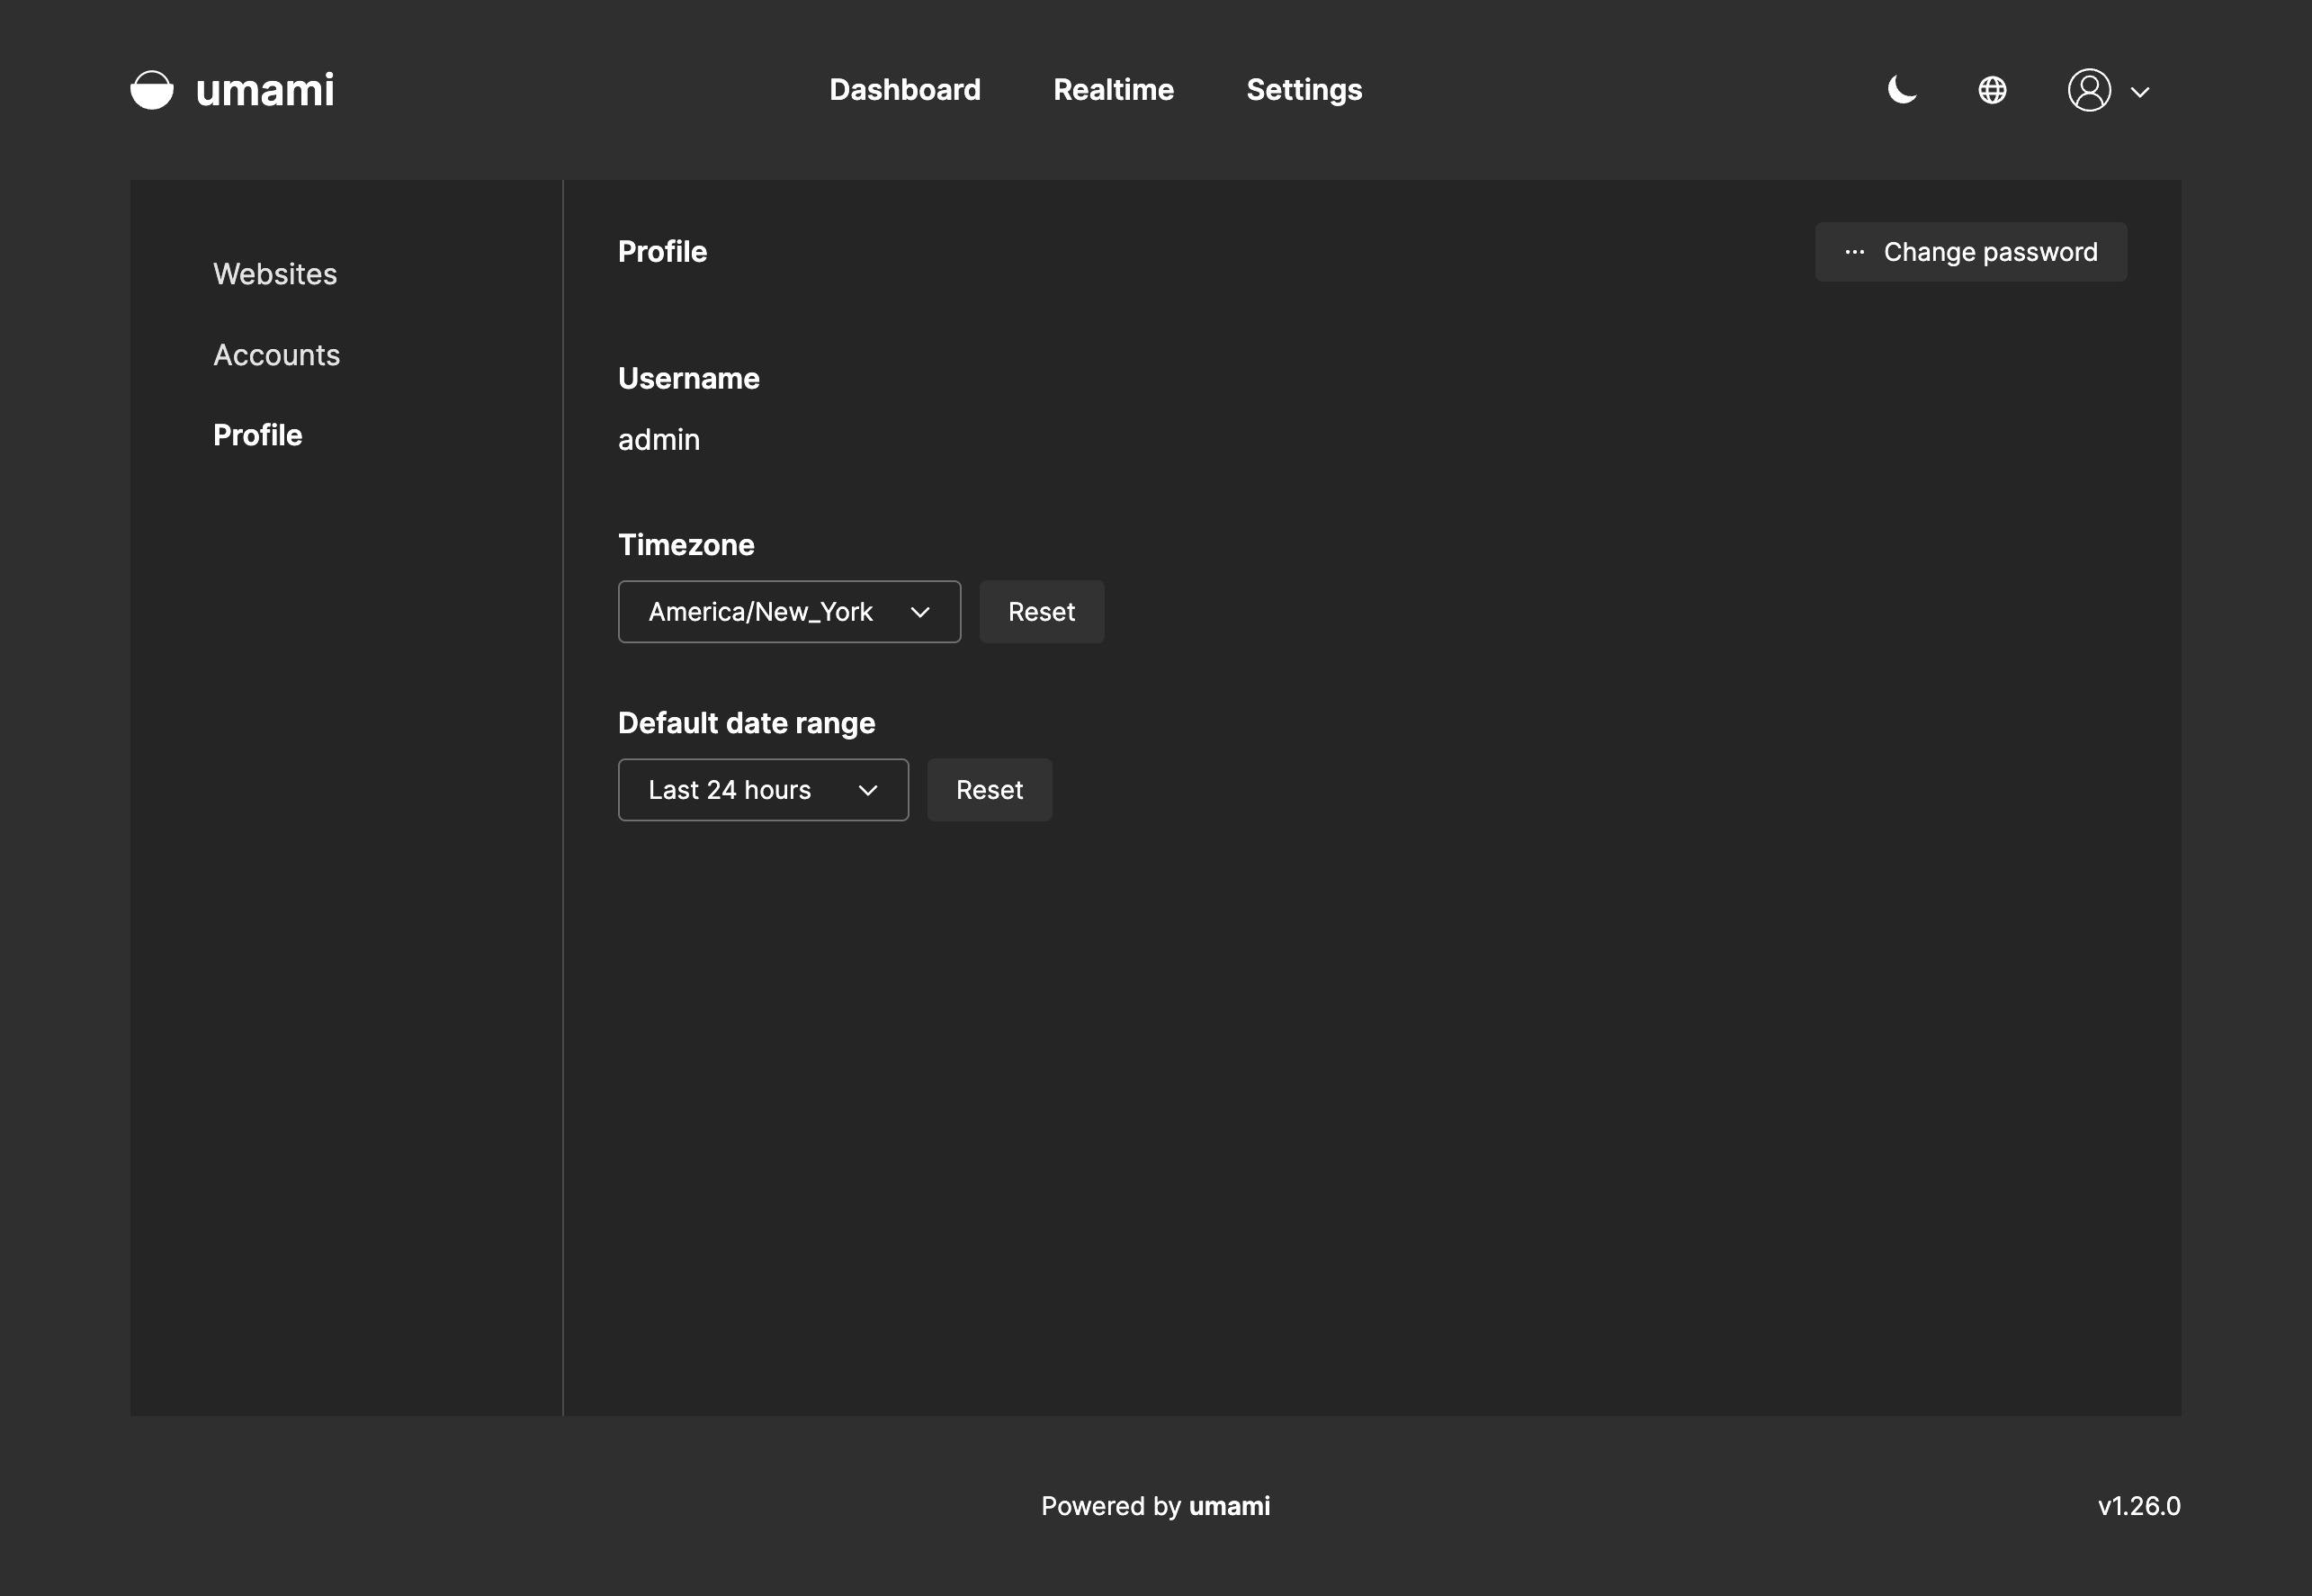
Change Password
By default, Umami creates a user with the username admin and password umami. We will need to change this to something more secure. Go to the Umami URL and sign in with the default user credentials. After, you can change the password by going to Settings - Profile and clicking the Change password button.
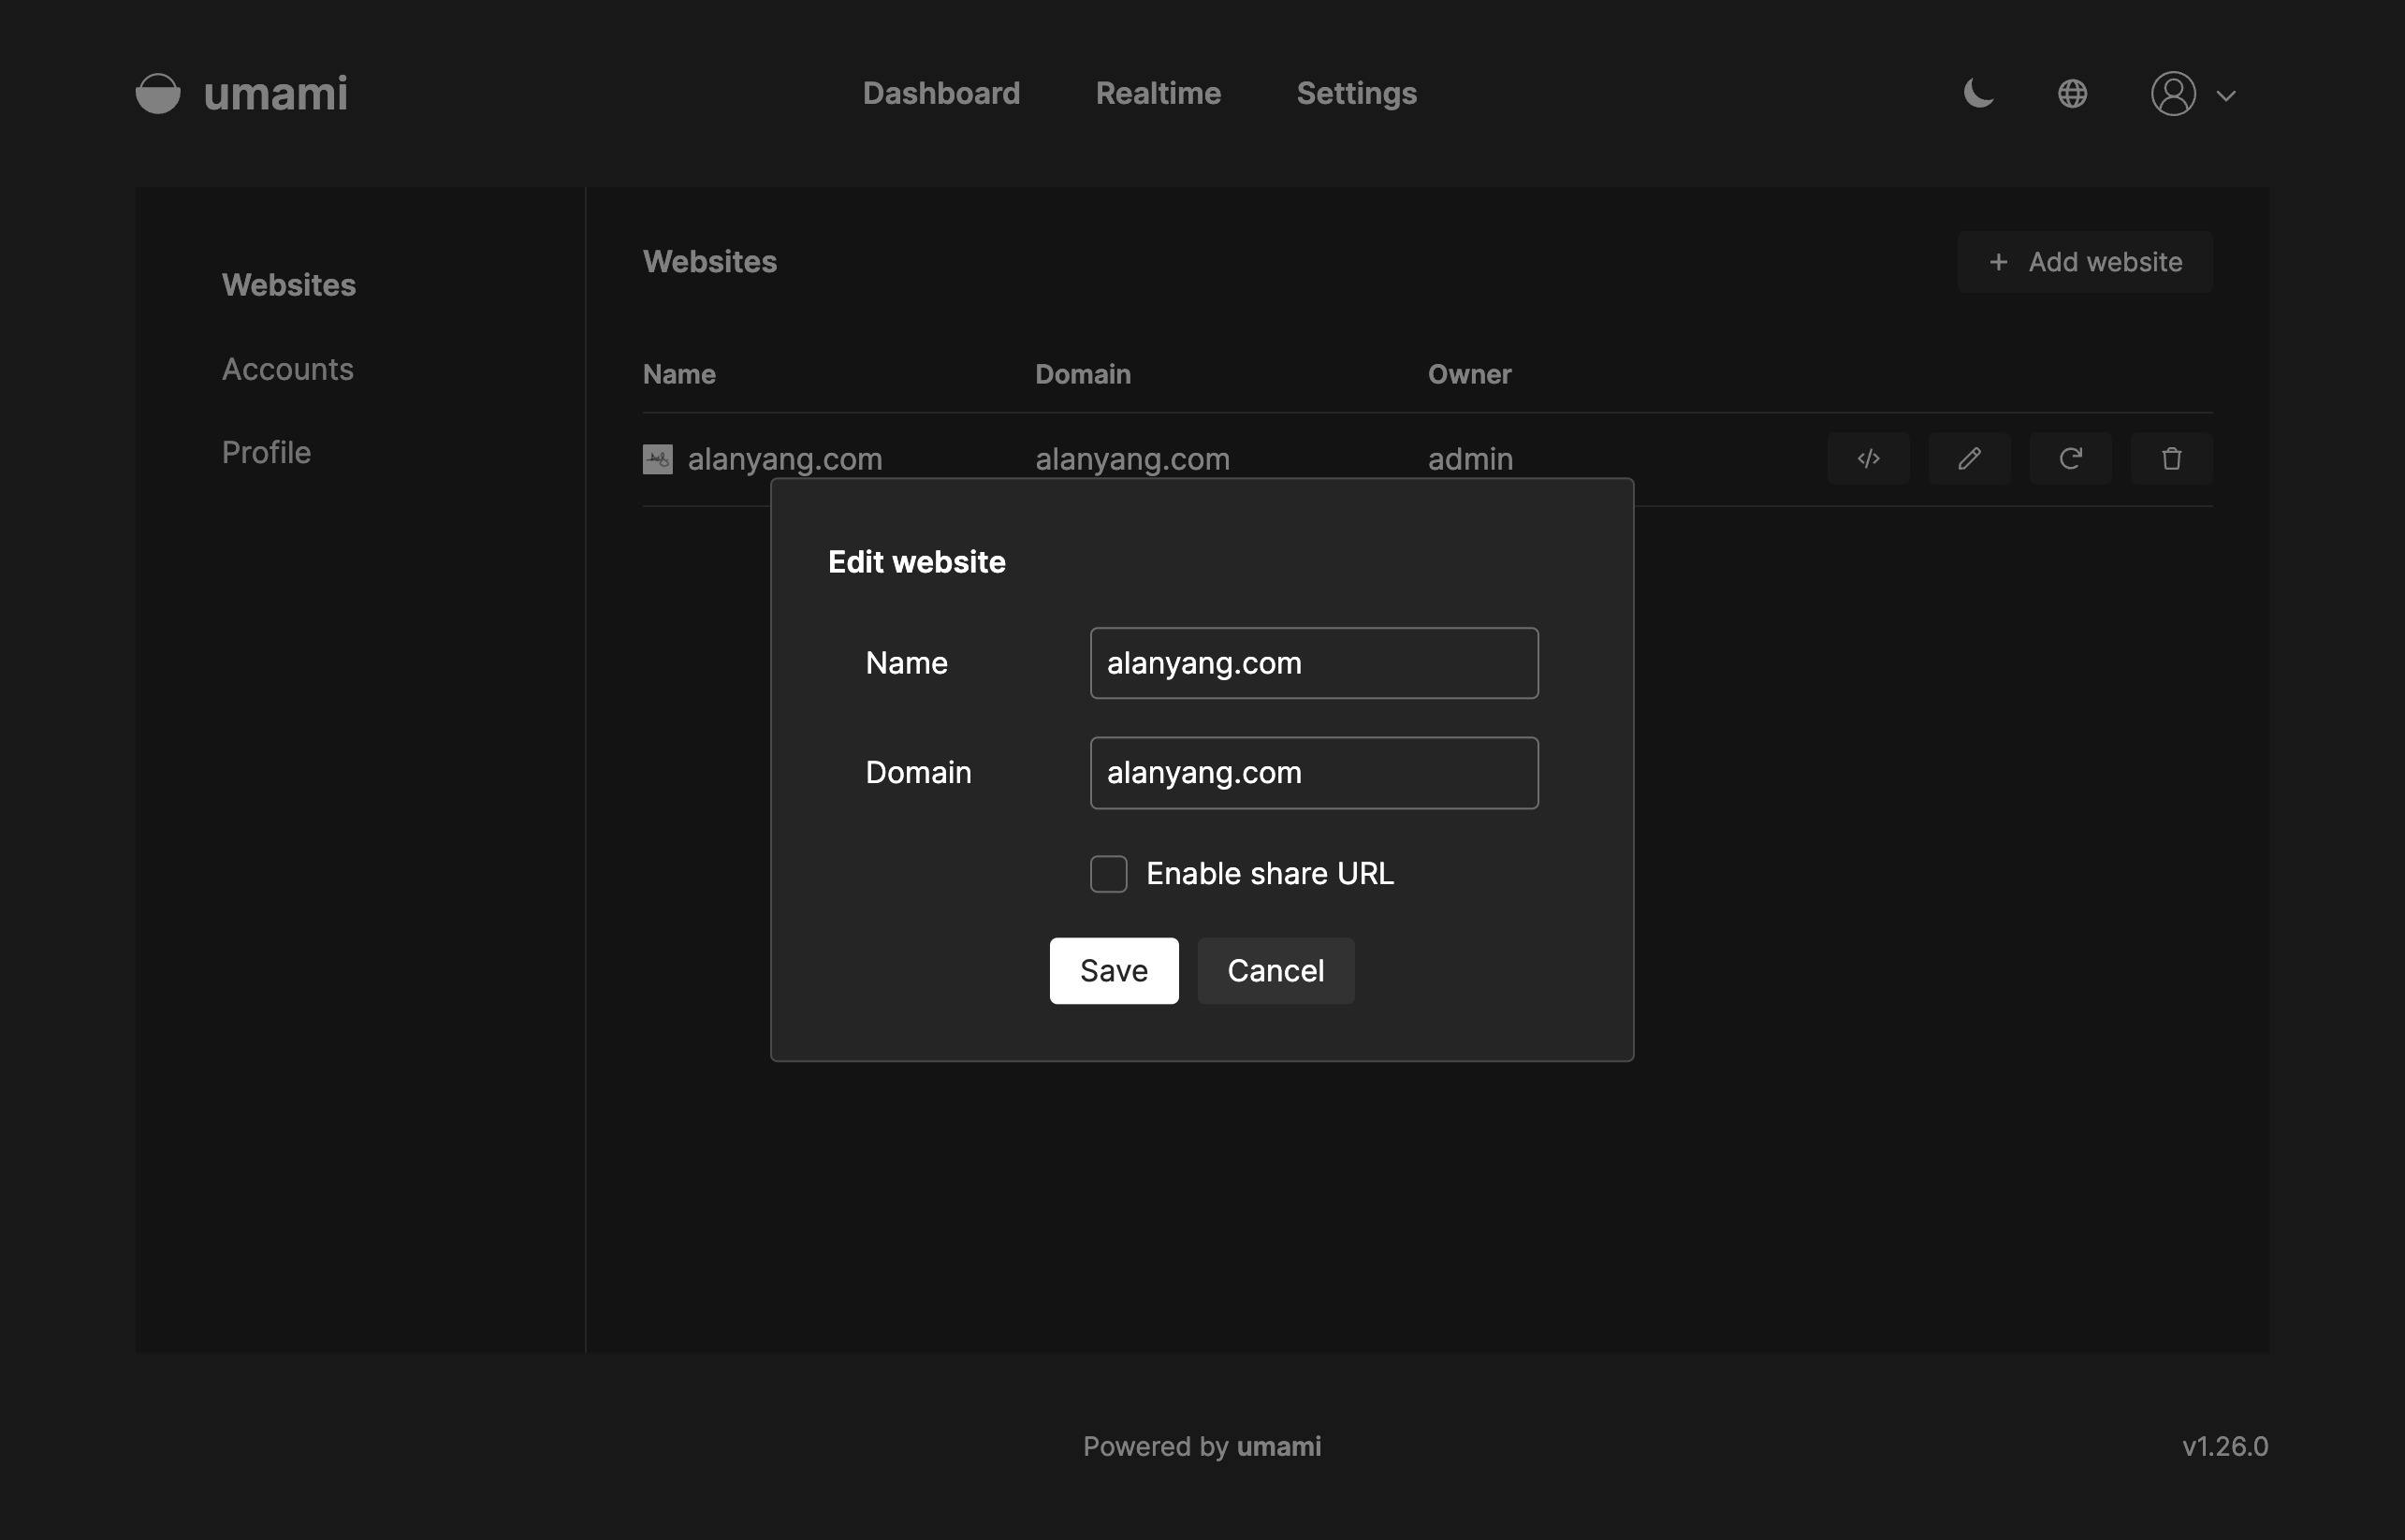
Add Websites
We can add websites to Umami by going to Settings - Websites and clicking the Add website button. The Enable share URL option creates a publicly available and unique URL that can be shared with anyone to show the metrics.
Add Umami
To start tracking, we will need to get our tracking code by clicking the </> button.
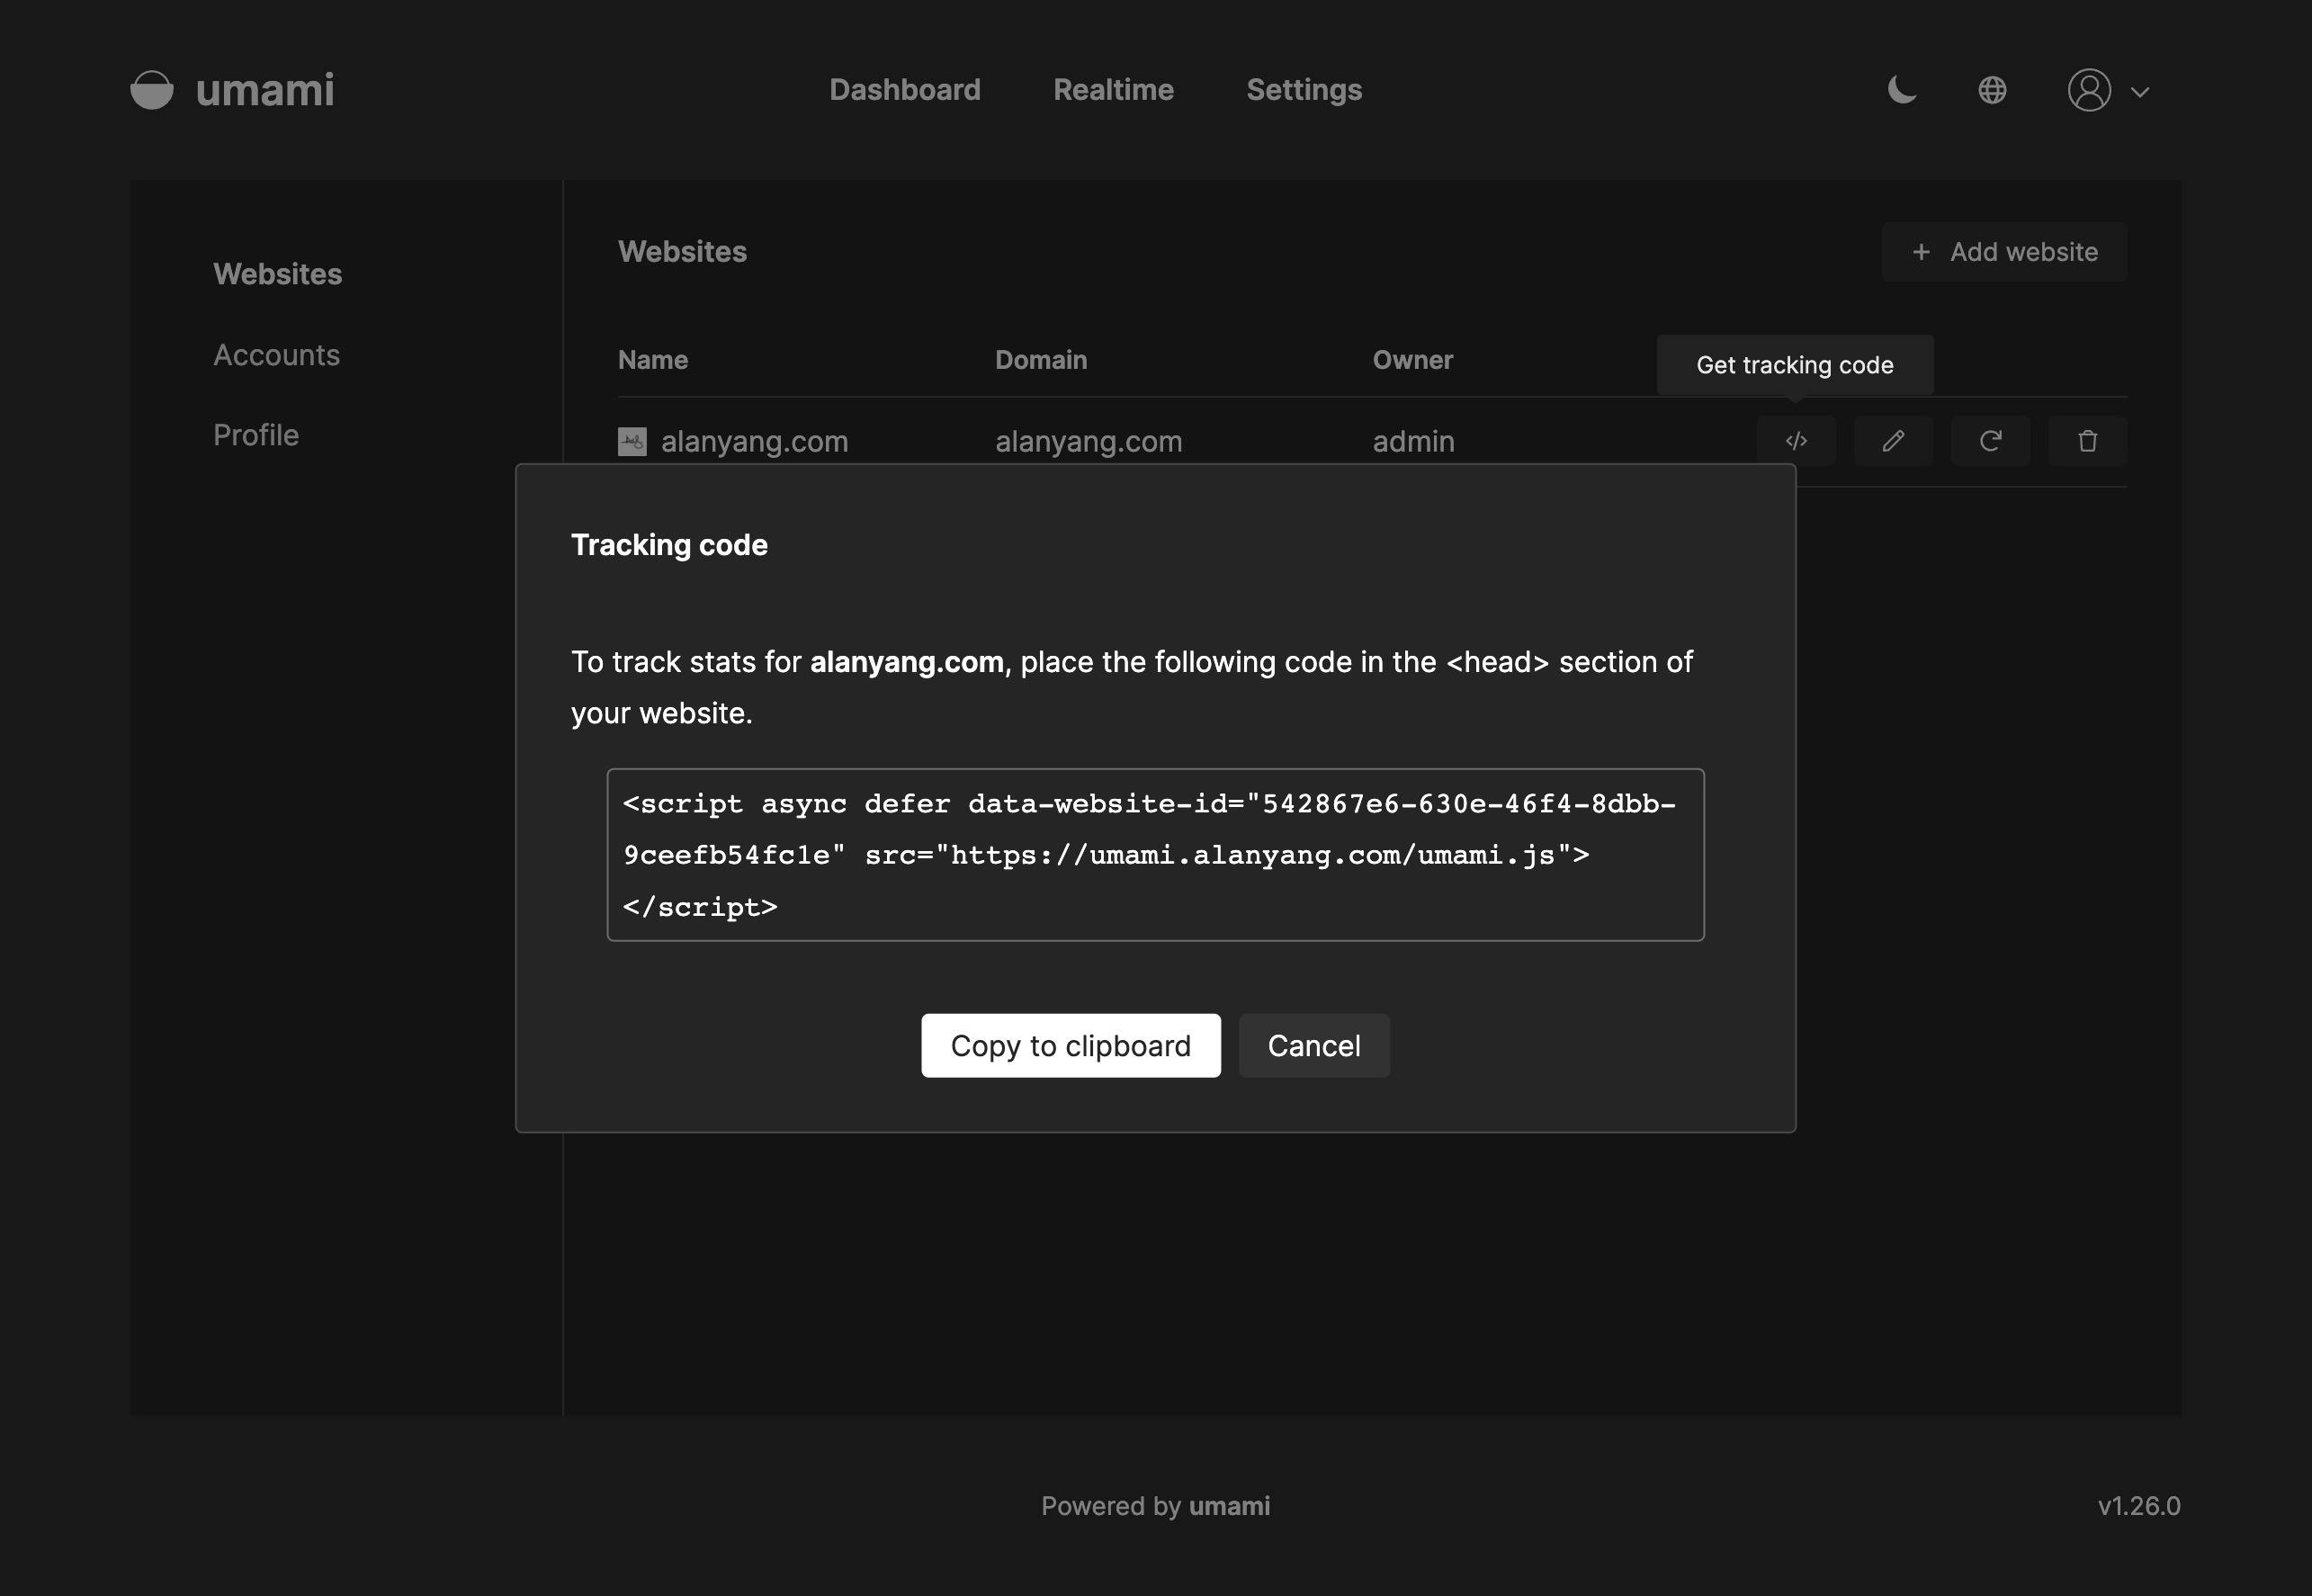
In the tracking code, there are two values that we need: data-website-id and src. We will store these values in our environmental variables in our Next.js app.
NEXT_PUBLIC_UMAMI_WEBSITE_ID=
NEXT_PUBLIC_UMAMI_SCRIPT_URL=
After setting our environmental variables for Umami, I like to create a file in my lib folder to export the variables. This allows me to make sure the environmental variables are set.
const UMAMI_SCRIPT_URL = process.env.NEXT_PUBLIC_UMAMI_SCRIPT_URL;
const UMAMI_WEBSITE_ID = process.env.NEXT_PUBLIC_UMAMI_WEBSITE_ID;

if (!UMAMI_SCRIPT_URL || !UMAMI_WEBSITE_ID) {
  throw new Error('Missing Umami environment variable');
}

export { UMAMI_SCRIPT_URL, UMAMI_WEBSITE_ID };
The final step is to add the Umami script to our _app file in our Next.js app. isProduction is used here to determine if we are in production or development. We do not want to log metrics if we are in development.
import type { AppProps } from 'next/app';
import Script from 'next/script';

import { UMAMI_SCRIPT_URL, UMAMI_WEBSITE_ID } from '@/lib/umami';

const isProduction = process.env.NODE_ENV === 'production';

const MyApp = ({ Component, pageProps }: AppProps) => {
  return (
    <>
      {isProduction && <Script src={UMAMI_SCRIPT_URL} data-website-id={UMAMI_WEBSITE_ID} />}
      <Component {...pageProps} />
    </>
  );
};

export default MyApp;
After your Next.js app is deployed, you can check to see if Umami is working by going to the Realtime tab in your Umami Dashboard.

If you have an ad blocker, it may prevent Umami from working.
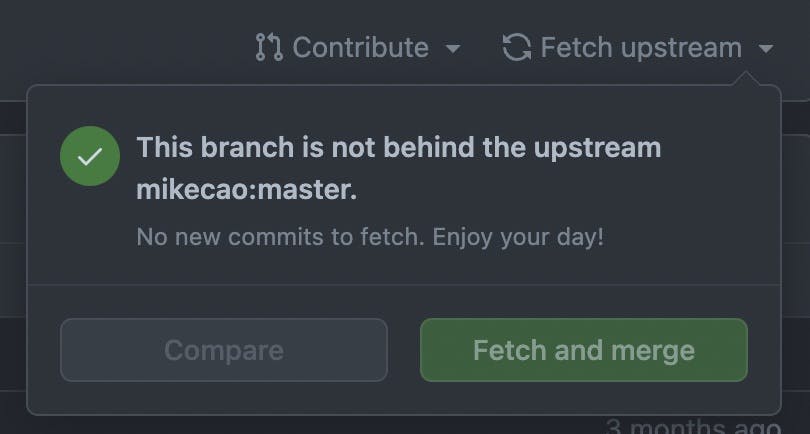
Update Umami
Because we forked Umami, we can update by heading to our forked repository and clicking Fetch upstream and then Fetch and merge to get the latest changes. After the merge, Railway will automatically redeploy Umami.